

How to Make an Unagi Don Recipe with Crisp Eel and Glossy Rice
Here's the problem most home cooks hit: the eel skin turns rubbery, the rice underneath goes soggy, or the sauce pools in one corner instead of coating everything evenly. If you've ever pulled a pack of frozen kabayaki out of the freezer and ended up with a sad, limp bowl, you're not alone. A good unagi don recipe isn't about fancy technique — it's about getting the reheating and layering sequence right, in the right order, at the right temperature.
This guide walks through exactly that: how to prep pre-grilled unagi kabayaki, how to build the bowl so the sauce seasons the rice without killing the crisp skin, and where most people go wrong.
What You Need Before You Start
Most home cooks use frozen unagi kabayaki rather than grilling raw eel from scratch — it's pre-butterflied, pre-glazed, and far more forgiving for a weeknight dinner. Here's what you'll want on hand:
- 1 fillet frozen unagi kabayaki (about 150-180g), thawed in the fridge overnight
- 2 cups cooked short-grain Japanese rice, kept warm
- 3-4 tbsp eel sauce (unagi tare), store-bought or homemade
- Toasted sesame seeds, thin-sliced scallion, or shredded nori for garnish
- A broiler or a covered non-stick pan
If you don't already have a bottle of tare on hand, our eel sauce product page has the ready-to-use version, and there's a full breakdown of the flavor profile in this kabayaki sauce article if you want to understand what's actually in it.
Step-by-Step: Reheating Frozen Kabayaki Without Losing the Crisp Skin
Frozen kabayaki is already cooked and glazed — your job is to reheat it so the skin re-crisps instead of steaming into mush. Follow this sequence:
- Thaw slowly. Move the fillet from freezer to fridge 12-24 hours ahead. Never microwave-thaw — it partially cooks the surface and ruins the texture before you even start.
- Pat dry. Condensation on the skin is the #1 reason kabayaki turns rubbery in the oven. Use a paper towel, press gently, skin side up.
- Preheat your broiler to high, or a pan to medium heat. You want fast, direct heat — not slow warming.
- Brush a thin layer of eel sauce on the flesh side, place skin-side up on foil, and broil 4-5 minutes until the skin blisters slightly and the glaze bubbles.
- Flip once, brush the skin lightly with sauce, and broil another 1-2 minutes. Watch closely — sugar in the tare burns fast past this point.
- Rest for 60 seconds before slicing. This lets the glaze set instead of sliding off when you cut.
Common failure points: skipping the pat-dry step, thawing in the microwave, or leaving the fillet under the broiler unattended (the sauce sugars scorch within 30 seconds once they start browning).
How Layering Sauce Beneath and Above the Eel Preserves Crisp Skin While Seasoning the Rice Evenly
This is the part most recipes skip, and it's the actual difference between a bowl that tastes assembled versus one that tastes cooked with intention. The trick is sauce placement — not just how much you use, but where.
| Layer | What to Do | Why It Matters |
|---|---|---|
| Bottom (on rice, before eel) | Drizzle 1-1.5 tbsp tare directly onto hot rice, mix lightly with the back of a spoon | Seasons the rice evenly from below — every bite gets sauce, not just the top layer near the eel |
| Middle (rice surface, under eel) | Add a very thin second drizzle right where the eel will sit | Creates a moisture barrier so the crisp skin doesn't sit directly on wet rice steam and go soft |
| Top (on eel, after plating) | Brush or drizzle 1-2 tbsp over the finished fillet just before serving | Adds gloss and flavor without soaking through the skin, which stays crisp because it's sauced last |
The logic here is simple: sauce below seasons, sauce above finishes. If you dump all the tare on top of the eel and let it sit for five minutes, the sauce migrates downward, softens the skin, and leaves the bottom of the rice bland. Layering in three light passes instead of one heavy pour keeps the crisp texture on top and even seasoning throughout — a technique borrowed from how kabayaki is traditionally glazed in multiple thin coats rather than one thick dunk.
Common Mistakes That Ruin an Otherwise Good Bowl
- Using cold rice. The sauce won't absorb evenly, and the eel won't stay warm long enough to serve. Rice needs to be fresh-cooked or reheated to at least 60°C before plating.
- Oversaucing. More tare doesn't mean better flavor — it means a soggy bowl. Stick to the 3-layer method above and total 4-6 tbsp for one serving.
- Cutting the eel before reheating. Pre-slicing dries out the flesh faster under broiler heat. Reheat whole, slice after resting.
- Skipping the rest period. Cutting straight off the broiler causes the glaze to run off instead of clinging to the fillet.
- Storing leftover sauce at room temperature. Tare has enough sugar content to ferment if left unrefrigerated for more than a few hours — always chill it back down.
Sourcing Matters More Than People Think
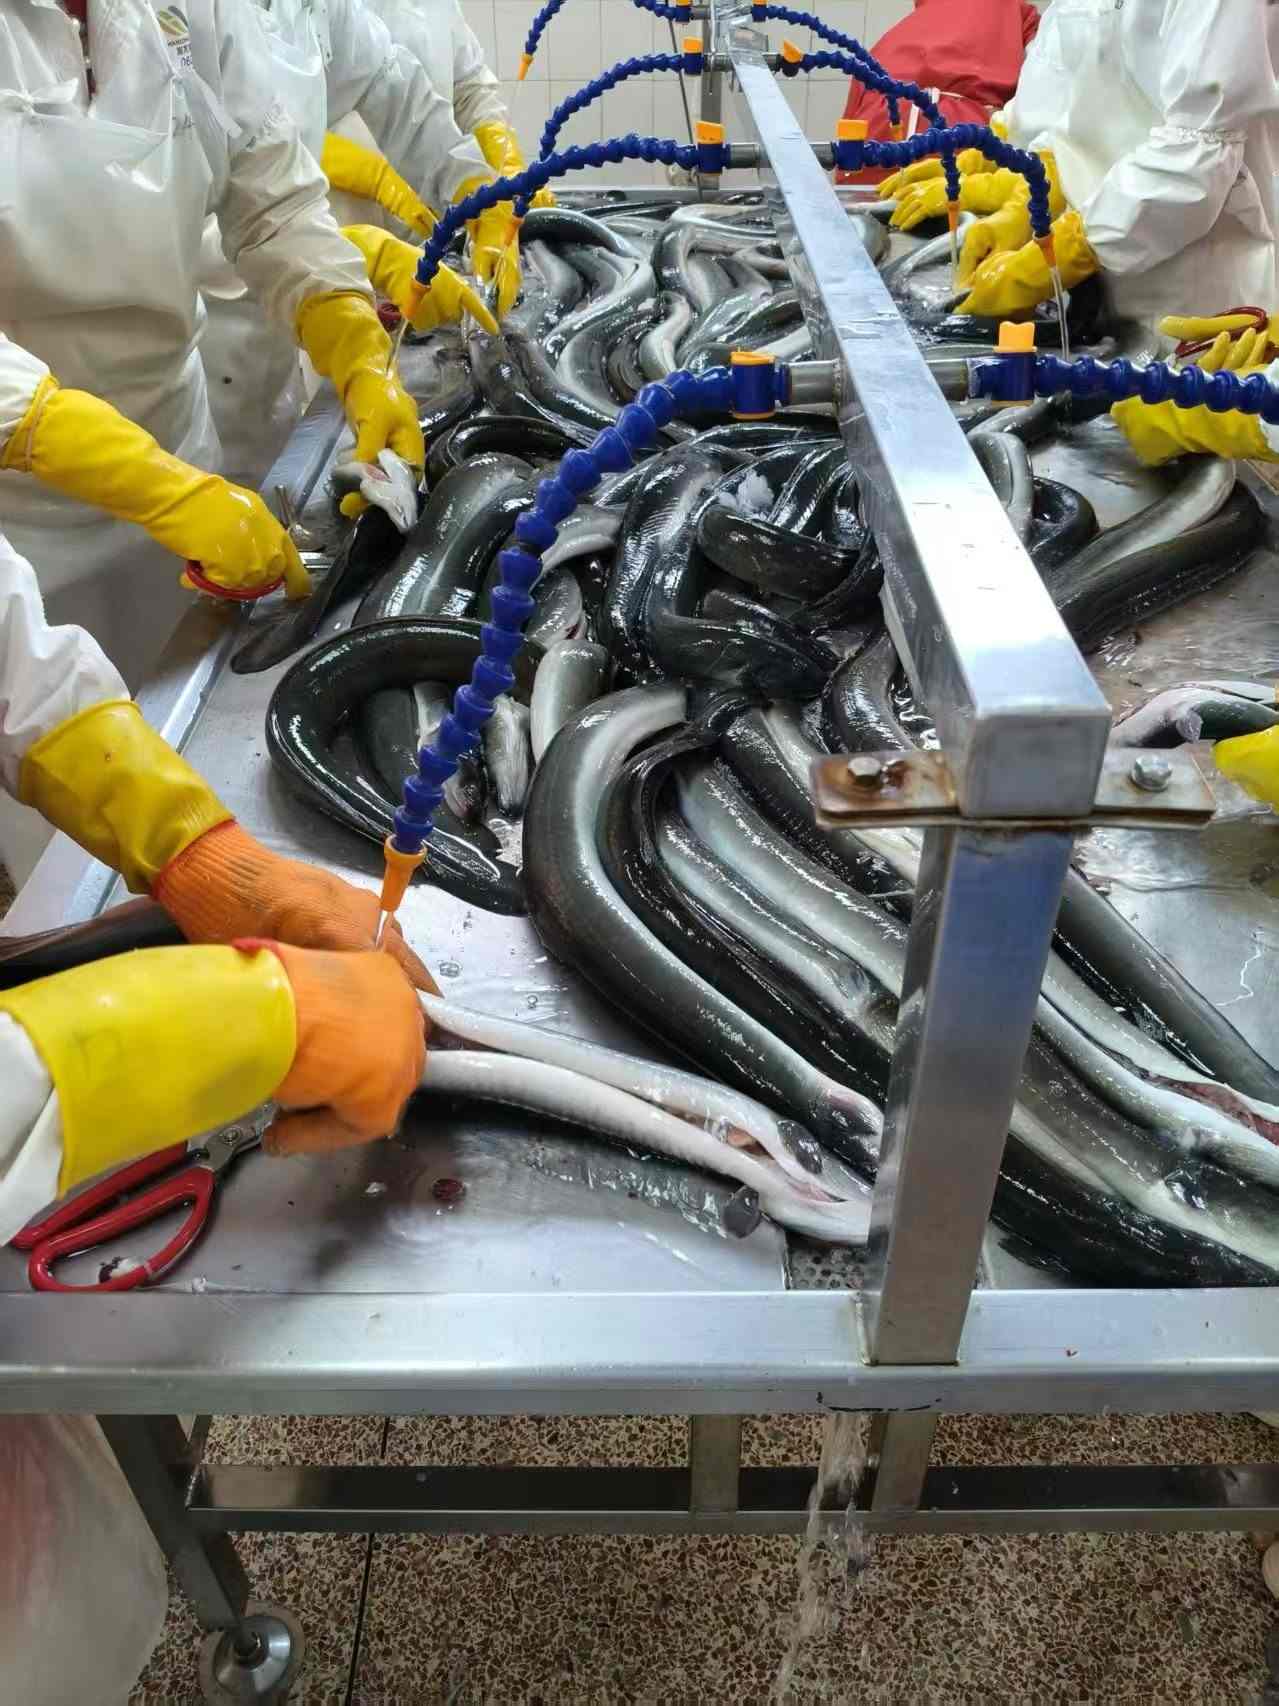
Home cooks often assume all frozen kabayaki is the same, but roasting technique changes the final texture significantly. Products roasted with a controlled multi-layer soy sauce process — where the glaze is applied in graduated coats rather than a single dip — hold their crisp-to-tender contrast better after reheating. That's the difference between a fillet that survives a home broiler and one that turns to mush the second it hits high heat. If you're sourcing kabayaki for a restaurant menu or retail freezer case rather than a single dinner, it's worth reviewing how the product is processed — our frozen eel supplier page outlines the roasting standards we apply, including the low-fat processing and deodorizing steps that keep the flesh from turning greasy after a second heating cycle.
Serving and Pairing Ideas
Once your eel is glazed and rested, slice into 1-inch strips on a slight diagonal and fan over the rice. A few finishing touches worth trying:
- Toasted sesame seeds and a scallion sprinkle for texture contrast
- A few strands of shredded nori for a bit of oceanic depth
- A side of pickled ginger or cucumber sunomono to cut the richness
- A soft-poached egg on top if you want a richer, less traditional bowl
If you want to branch out from the classic donburi format, there are other ways to use the same fillet — check out this eel noodle soup recipe for a soup-based approach, or explore topping variations in our guide to donburi builds.
Quick Reference: Bowl Assembly Checklist
- Rice hot and freshly cooked, seasoned with first sauce layer
- Eel thawed overnight, patted dry, not pre-sliced
- Broiler preheated to high before the fillet goes in
- Second thin sauce layer under the eel, third layer on top after plating
- Rested 60 seconds before slicing and serving
- Garnish added last so it doesn't wilt in residual steam
Once you've got the layering down, the rest is just repetition — same sequence, same timing, consistent results every time you make it. If you're sourcing kabayaki in volume for a menu or retail line and want to talk specs, cutting formats, or sample availability, reach out for a quote or request a spec sheet from our team.