





A beautiful eel specimen can fall apart in one careless rinse. The skeleton of an eel contains many small vertebrae, slender fin elements, and delicate supporting bones that can disappear before you notice they are loose.
For collectors, classroom preparators, and museum-style display makers, the goal is not simply to clean bones. It is to retain their order. A complete skeleton of an eel should still show the long body line, repeating vertebrae, skull structure, and fin support after drying and mounting.
Start by treating every small bone as evidence. Do not discard rinse water, cleaning debris, or loose tissue until you have checked it under good light. This habit prevents the most common loss: tiny bones being poured away with water or stuck to cloth, paper towels, or dried tissue.
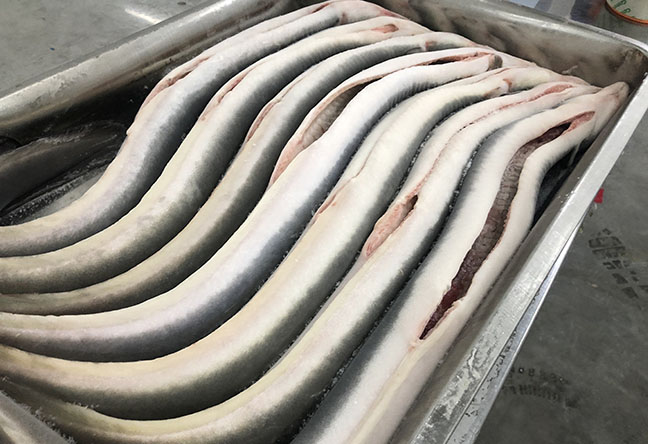
The first decision is whether the skeleton of an eel is stable enough for direct cleaning or needs a slower, controlled approach. Examine it before cutting, soaking, or pulling tissue away. The long, flexible body can hide breaks until the specimen is moved.
Pay particular attention to the vertebrae. In an eel, the repeated vertebral chain creates the body’s visual rhythm. If sections are separating, do not continue with forceful scraping. Stabilize and collect parts first.
| What You See | Likely Cause | Best Immediate Action | When This Approach Does Not Fit |
|---|---|---|---|
| Small bones appear in rinse water | Loose vertebrae, fin rays, or small skull bones are detaching | Stop draining water and pour all liquid through a fine collection screen | Do not rely on a screen alone if bones are already embedded in tissue |
| The body bends sharply at one point | Soft tissue may still be holding a broken or weak bone section together | Support the area from underneath and avoid pulling the body straight | Do not glue the section before all cleaning is finished |
| Fin edges look like soft threads | Fin elements are still covered by skin or tissue | Keep the tissue section intact until the fine elements can be separated safely | Do not scrape across the fin line with a hard tool |
| Bone surfaces look chalky or flaky | Overhandling, harsh chemical exposure, or drying stress may be affecting the material | Reduce handling and allow the specimen to stabilize before further work | Do not attempt aggressive whitening to improve appearance |
The practical rule is simple: if you cannot identify where a loose piece belongs, collect it separately and label it. A partly assembled skeleton of an eel is easier to repair than a bone that has been lost in a sink, drain, or waste bin.
This workflow is designed for the handling problem that causes the most frustration: loose vertebrae and fin elements separating during cleaning, drying, and mounting. The best result comes from working in stages, with a collection method active from the first rinse to final display.
Do not rush from raw specimen to finished mount. The skeleton of an eel should be checked after each stage because a stable-looking body can release small pieces as tissue softens or dries.
The limit of this workflow is clear. It protects recoverable pieces, but it cannot restore bones that have already been discarded, dissolved, or broken into unidentifiable fragments. Careful collection must begin before cleaning, not after.
There is no single cleaning method that suits every skeleton of an eel. The right choice depends on whether you need to preserve fine anatomical detail, prepare a simple teaching display, or recover a specimen that already has loose parts.
| Method | Best Use | Main Benefit | Main Risk |
|---|---|---|---|
| Careful manual tissue removal | Specimens with visible loose bones or fragile fins | Allows direct control over each section | Too much scraping can dislodge small bones |
| Controlled natural softening | Specimens where tissue cannot be lifted safely | Reduces the need for forceful pulling | Requires close monitoring because bones may separate with softened tissue |
| Professional skeletal preparation | Research collections, rare material, or specimens needed for formal study | Offers access to trained handling and specialist processes | May not be practical for a small classroom or personal display project |
For a beginner, manual removal is usually the safer starting point when the bones are visible and the specimen is intact. Use fine tools, short movements, and frequent checks. Avoid household bleach or harsh cleaning products. They may change bone appearance and make delicate elements more likely to crumble or discolor.
A useful cold fact: the longest-looking part of an eel display is not always the easiest part to preserve. The body may look like one continuous spine, yet its repeated small bones can shift sideways when the supporting tissue is removed. That is why a skeleton of an eel should be laid out on a reference board before adhesive is used.
If your main interest is food preparation rather than anatomical display, keep the projects separate. Our eel cleaning guide explains culinary cleaning and deboning, while skeletal preparation requires slower collection and preservation decisions.
Drying is where many otherwise successful specimens lose their natural line. A wet skeleton of an eel can look straight while supported by moisture and remaining tissue, then twist or contract as it dries.
Use a flat, protected surface and establish the intended curve before the bones become fully dry. An eel does not need to be mounted as a perfectly straight line. A gentle, natural curve often makes the display easier to read and reduces stress on the vertebral chain.
Mounting should make the specimen readable, not hide repair work. Begin with the central vertebral line because it determines where every other part of the skeleton of an eel will sit.
Set the skull and main spine first. Confirm that the body curve looks intentional. Then work outward to ribs, fin elements, and other recovered pieces. Use only the minimum amount of mounting material needed to hold each part. Excess adhesive can cover anatomical features and make future correction difficult.
If a piece cannot be identified with confidence, do not place it randomly. Store it in a labeled archive packet beside the display or note it in the specimen record. A visible gap is more honest and more useful for study than an incorrectly placed bone.
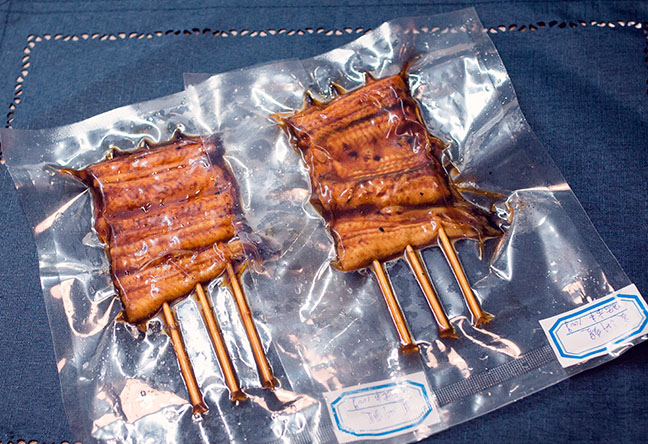
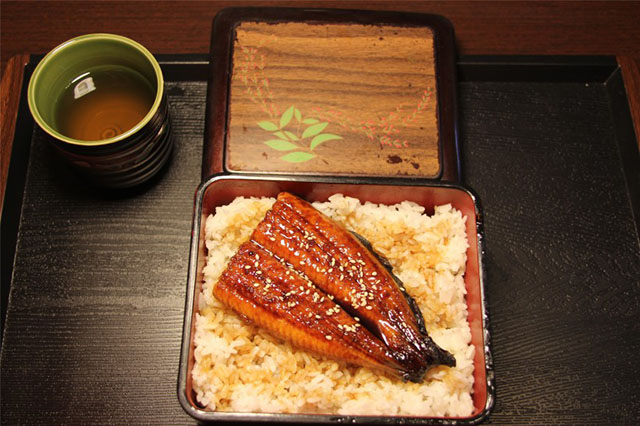
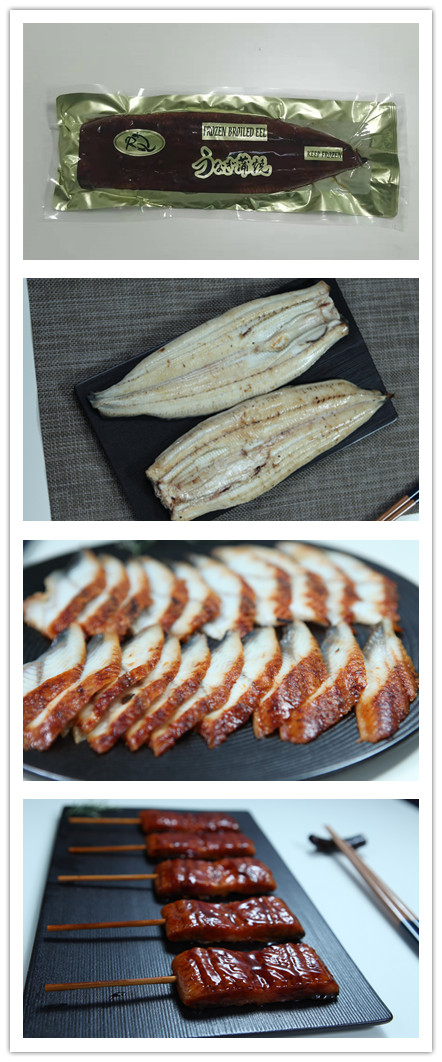
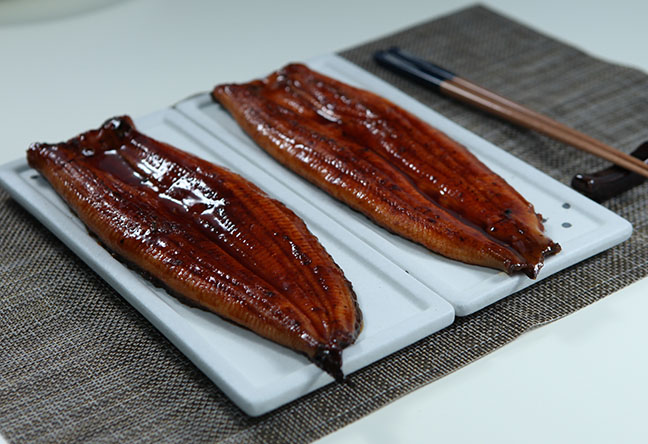
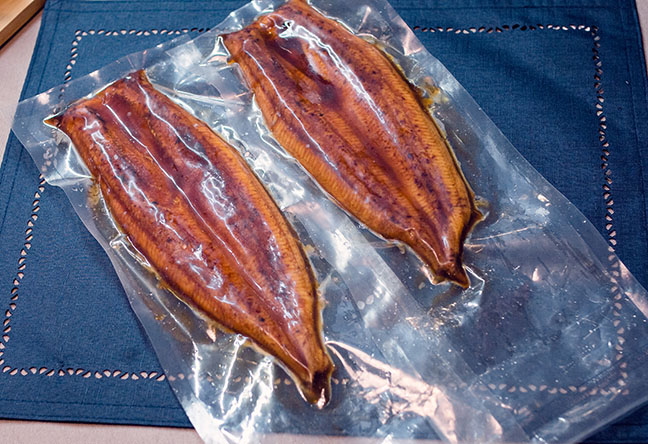
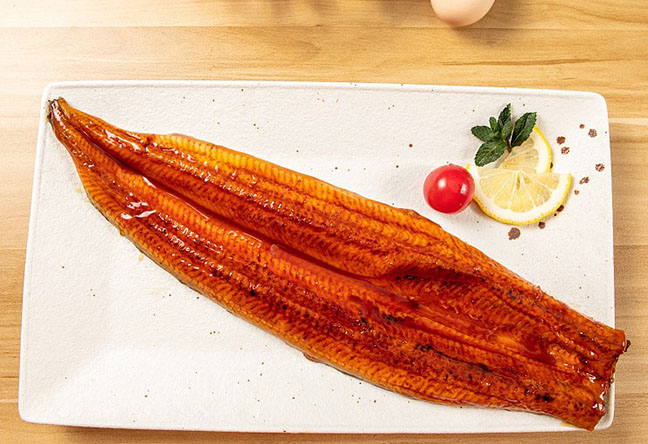
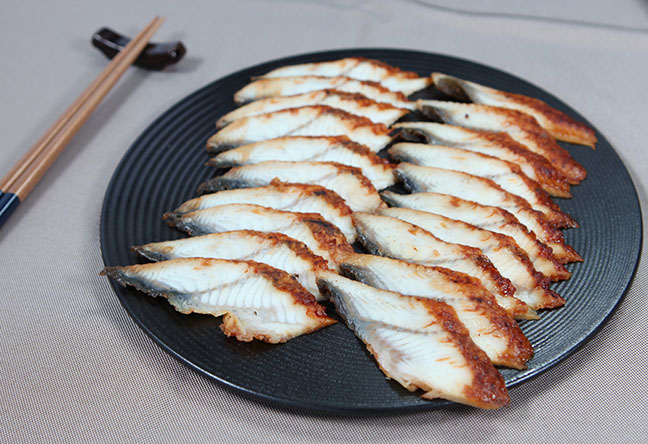
A food product and a study specimen serve different purposes. Frozen roasted eel, prepared kabayaki, and eel sauce are made for consumption, not for anatomical preservation. A cooked fillet will not provide a usable skeleton of an eel for display because processing, cutting, roasting, and deboning may alter or remove the structures you want to study.
For foodservice buyers, Eelpro supplies frozen eel products under ISO 22000:2018, HACCP, HALAL certification, export food producer registration, and an SC food production license. Our unagi kabayaki product is intended for menu service, while an educational specimen should be sourced and handled through appropriate study or collection channels.
That distinction also helps schools and collectors set expectations. A food supplier can support culinary learning, while an anatomy display needs traceable specimen records, careful preservation procedures, and a mounting plan designed around bone retention.
Before closing a case or presenting the skeleton of an eel, inspect it in strong, even light. The check takes little time and can prevent a display problem from becoming permanent.
A well-preserved skeleton of an eel does not need to look artificially perfect. It should be stable, honestly documented, and clear enough for a student, collector, or visitor to understand how this long-bodied fish is built.
For culinary sourcing separate from specimen preparation, request eel product selection advice from Eelpro.

 WhatsApp
 sales@chinaeels.com
 +8619937922411