

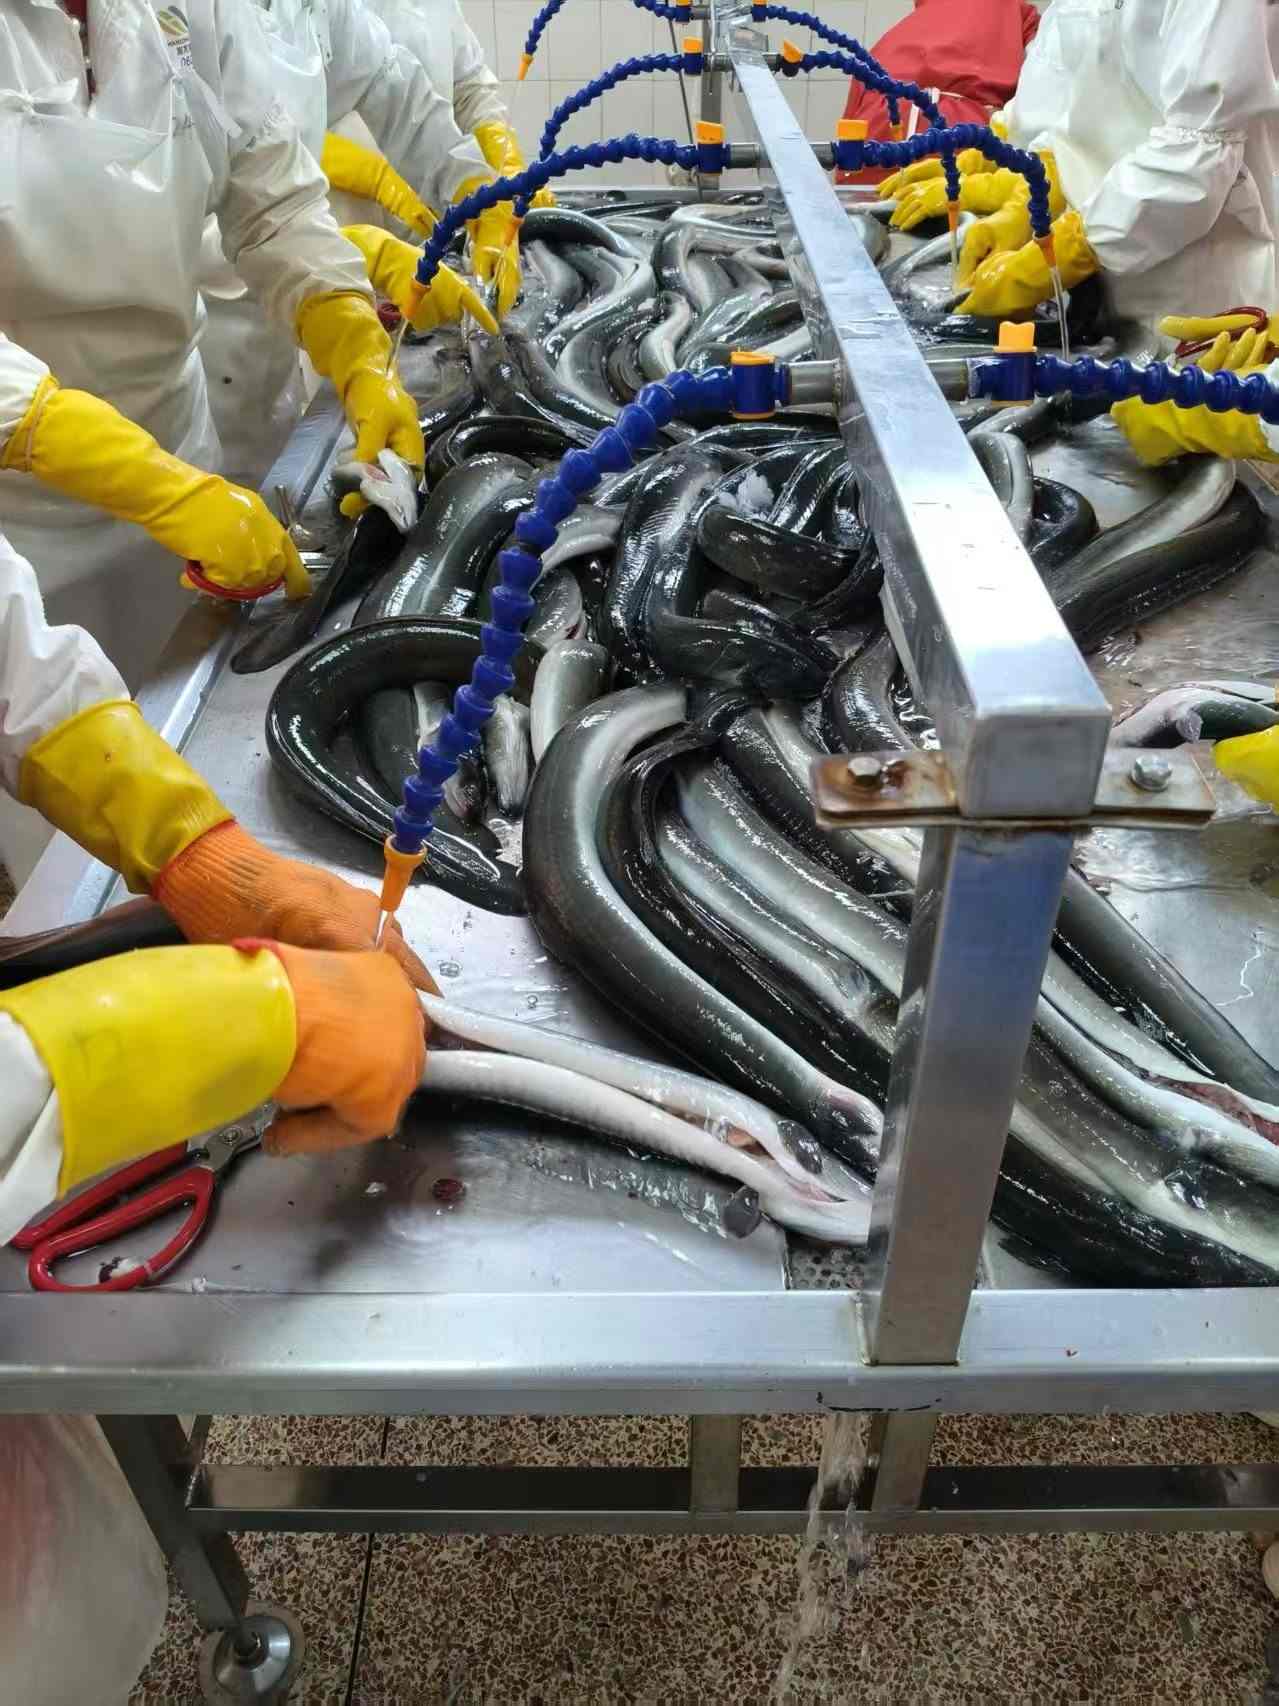
Eel Recipe: Roast Whole Eel for Crisp Skin, Tender Flesh
You bought a cleaned whole eel. It's sitting on your cutting board, cold and slightly slippery, and now you're wondering: how do you roast this thing without the skin turning rubbery or the flesh drying into cardboard? That's the exact problem most home cooks hit on their first try. Get the temperature wrong by even 20°C, or skip the basting rhythm, and you end up with either burnt skin over raw meat, or evenly cooked flesh with skin that never crisps. This eel recipe walks through the fix — a temperature-and-basting sequence that's used in commercial roasting lines, scaled down for a home oven or grill.
Why Whole Eel Behaves Differently From Fillets
Whole eel has three layers working against each other: skin, a thin fat band just under it, and dense muscle flesh. Each reacts to heat at a different pace. Skin needs high, direct heat to blister and crisp. The fat layer needs gentle rendering, or it turns greasy and heavy instead of silky. The flesh needs slow, even heat, or it seizes up and turns fibrous.
That's why a single flat roasting temperature almost never works well on whole eel. Commercial kabayaki processors solve this with a multi-stage soy-sauce coating and heat-control process — often four separate layers of sauce applied at different temperature stages, a method sometimes called kabayaki style roasting in Japan. Home cooks can't replicate an industrial four-layer line exactly, but the underlying logic — vary temperature and basting timing across stages — is exactly what makes this recipe work.
Step-by-Step: Temperature-and-Basting Sequence for Crisp Skin
This is the core method. Follow it in order — skipping a stage is the most common reason home-roasted eel comes out uneven.
- Pat the eel fully dry. Any surface moisture steams instead of crisping. Use paper towels, press firmly, wait 5 minutes, then dry again.
- Score the skin lightly. Shallow diagonal cuts every 2-3 cm let fat escape and prevent curling. Do not cut into the flesh.
- Stage 1 — Dry sear, skin side down, 220°C (428°F), 4-5 minutes. No sauce yet. This sets the skin structure and starts fat rendering. Checkpoint: skin should look taut and slightly blistered, not charred.
- Stage 2 — Flip, flesh side down, reduce to 180°C (356°F), 6-8 minutes. This is the tenderizing stage. Low, steady heat cooks the muscle without squeezing out moisture.
- Stage 3 — First basting layer. Flip skin-side down again. Brush a light coat of sauce (soy-based glaze or eel sauce) directly onto the skin. Roast at 200°C (392°F) for 3 minutes until the sauce tightens and darkens slightly.
- Stage 4 — Second and third basting layers. Apply two more thin coats, 2 minutes apart, keeping heat at 200°C. Each layer should dry slightly before the next goes on — thick, wet layers steam the skin instead of glazing it.
- Final rest, 5 minutes, oven off, door cracked. Carryover heat finishes the flesh gently. Skipping this step is the top reason people report "tender in the middle, tough near the skin."
Comparison: Common Home Methods vs. the Temperature-Sequence Method
| Method | Skin Result | Flesh Result | Best For |
|---|---|---|---|
| Single high-heat blast (250°C throughout) | Crisp but often burnt at edges | Dry, sometimes tough | Thin fillets only, not whole eel |
| Low and slow (150°C the whole time) | Never crisps, stays soft/rubbery | Very tender, evenly cooked | Braising or steaming recipes, not roasting |
| Grill only, constant flipping | Uneven — some patches crisp, some soft | Risk of drying near flame | Small eel pieces or skewers |
| Temperature-and-basting sequence (this recipe) | Evenly crisp, glazed | Tender throughout | Whole eel, first-time home roasting |
Common Mistakes That Ruin Crisp Skin
- Basting too early. Sauce applied before the skin sets (before Stage 3) prevents proper crisping — the sugar in the glaze burns before the skin firms up.
- Using cold eel straight from the fridge. Let it sit at room temperature 15-20 minutes first. Cold centers cook unevenly and take longer, drying the outer flesh.
- Over-scoring the skin. Cuts that go too deep release too much moisture too fast, leading to shrinkage and curling.
- Thick sauce layers. One heavy coat looks efficient but actually steams the skin. Three thin layers beat one thick one — this is the same logic behind the four-layer soy-sauce process used in export-grade unagi kabayaki production.
- Skipping the rest period. Cutting into eel straight off the heat lets juices run out immediately, leaving the flesh drier than it should be.
Choosing the Right Whole Eel Before You Start
Not every eel on the market roasts the same way. Fat content varies by size and origin, and that changes how long Stage 2 should run.
| Eel Type | Typical Fat Level | Stage 2 Adjustment |
|---|---|---|
| Small/young eel (under 200g) | Lower fat | Reduce Stage 2 to 5-6 minutes to avoid drying |
| Medium eel (200-350g) | Moderate fat | Standard 6-8 minutes as written above |
| Large eel (350g+) | Higher fat | Extend Stage 2 to 9-10 minutes for full rendering |
Cold knowledge tip: frozen whole eel that's been properly blast-frozen and stored under consistent cold-chain conditions actually roasts more evenly than fresh eel sitting too long at market temperature. Fresh isn't always better — stable cold storage locks in texture before fat starts breaking down unevenly. That's part of why processors keep large-scale cold storage facilities (1,000-ton capacity in some export operations) as a standard part of quality control, not just a shipping convenience.
Buyer's Checklist Before You Roast
- Is the eel fully thawed and dry-patted? Wet skin never crisps properly.
- Do you have an oven thermometer? Built-in dial temperatures are often off by 10-15°C.
- Is your sauce thin enough to brush, not pour? Thick sauce needs diluting with a splash of water or mirin.
- Do you have a resting rack or tray? Resting eel directly in its own juices softens the skin you just crisped.
- Are you working with a cleaned, deboned eel, or do you need to debone first? If deboning is still ahead of you, check a dedicated cleaning and deboning guide before you start roasting.
What This Method Does Not Fix
This sequence solves texture — crisp skin, tender flesh. It does not solve flavor depth on its own. If the eel tastes flat even after good roasting, the issue is usually the sauce recipe, not the roasting method. A well-balanced glaze needs the right ratio of soy, mirin, and sugar reduced to the right thickness. If your sauce keeps turning out too thin, too salty, or too sweet, that's a separate fix — worth reading through a dedicated kabayaki sauce breakdown rather than adjusting oven temperature further.
Also, this method assumes a whole eel of reasonably standard thickness. Very thick specialty cuts or unusually large eel may need an extra 2-3 minutes added to Stage 2 — test with a thin skewer at the center; it should slide in with no resistance.
Serving After Roasting
Once rested, slice against the grain into portions. Roasted whole eel holds up well over rice, in noodle soup, or sliced thin for rolls. If you're planning meal prep rather than serving right away, cool the eel fully before storing — reheating from cold with a quick pan-sear on the skin side brings back most of the crispness lost in the fridge.
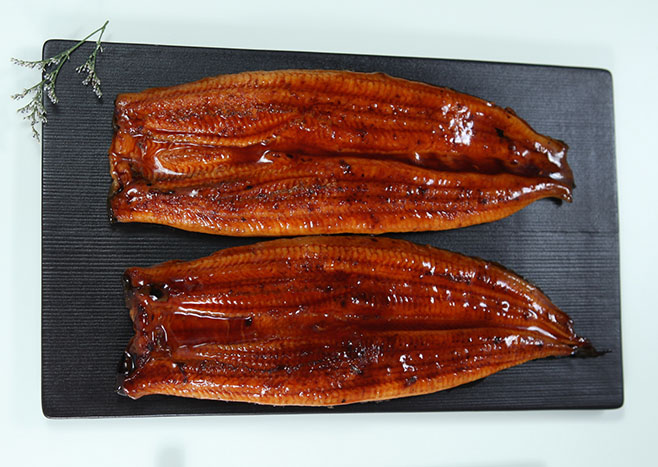
If you'd rather skip the trial-and-error stage entirely, pre-roasted frozen eel supplier options are already processed through a controlled four-layer soy-sauce coating and temperature sequence — a useful reference point if you want to compare your home results against a factory-grade benchmark.
Got a batch that turned out great, or one that went sideways? Drop your results in the comments — and if you want to go deeper on sauce ratios or cutting techniques next, our recipe library has more step-by-step guides worth a look.