

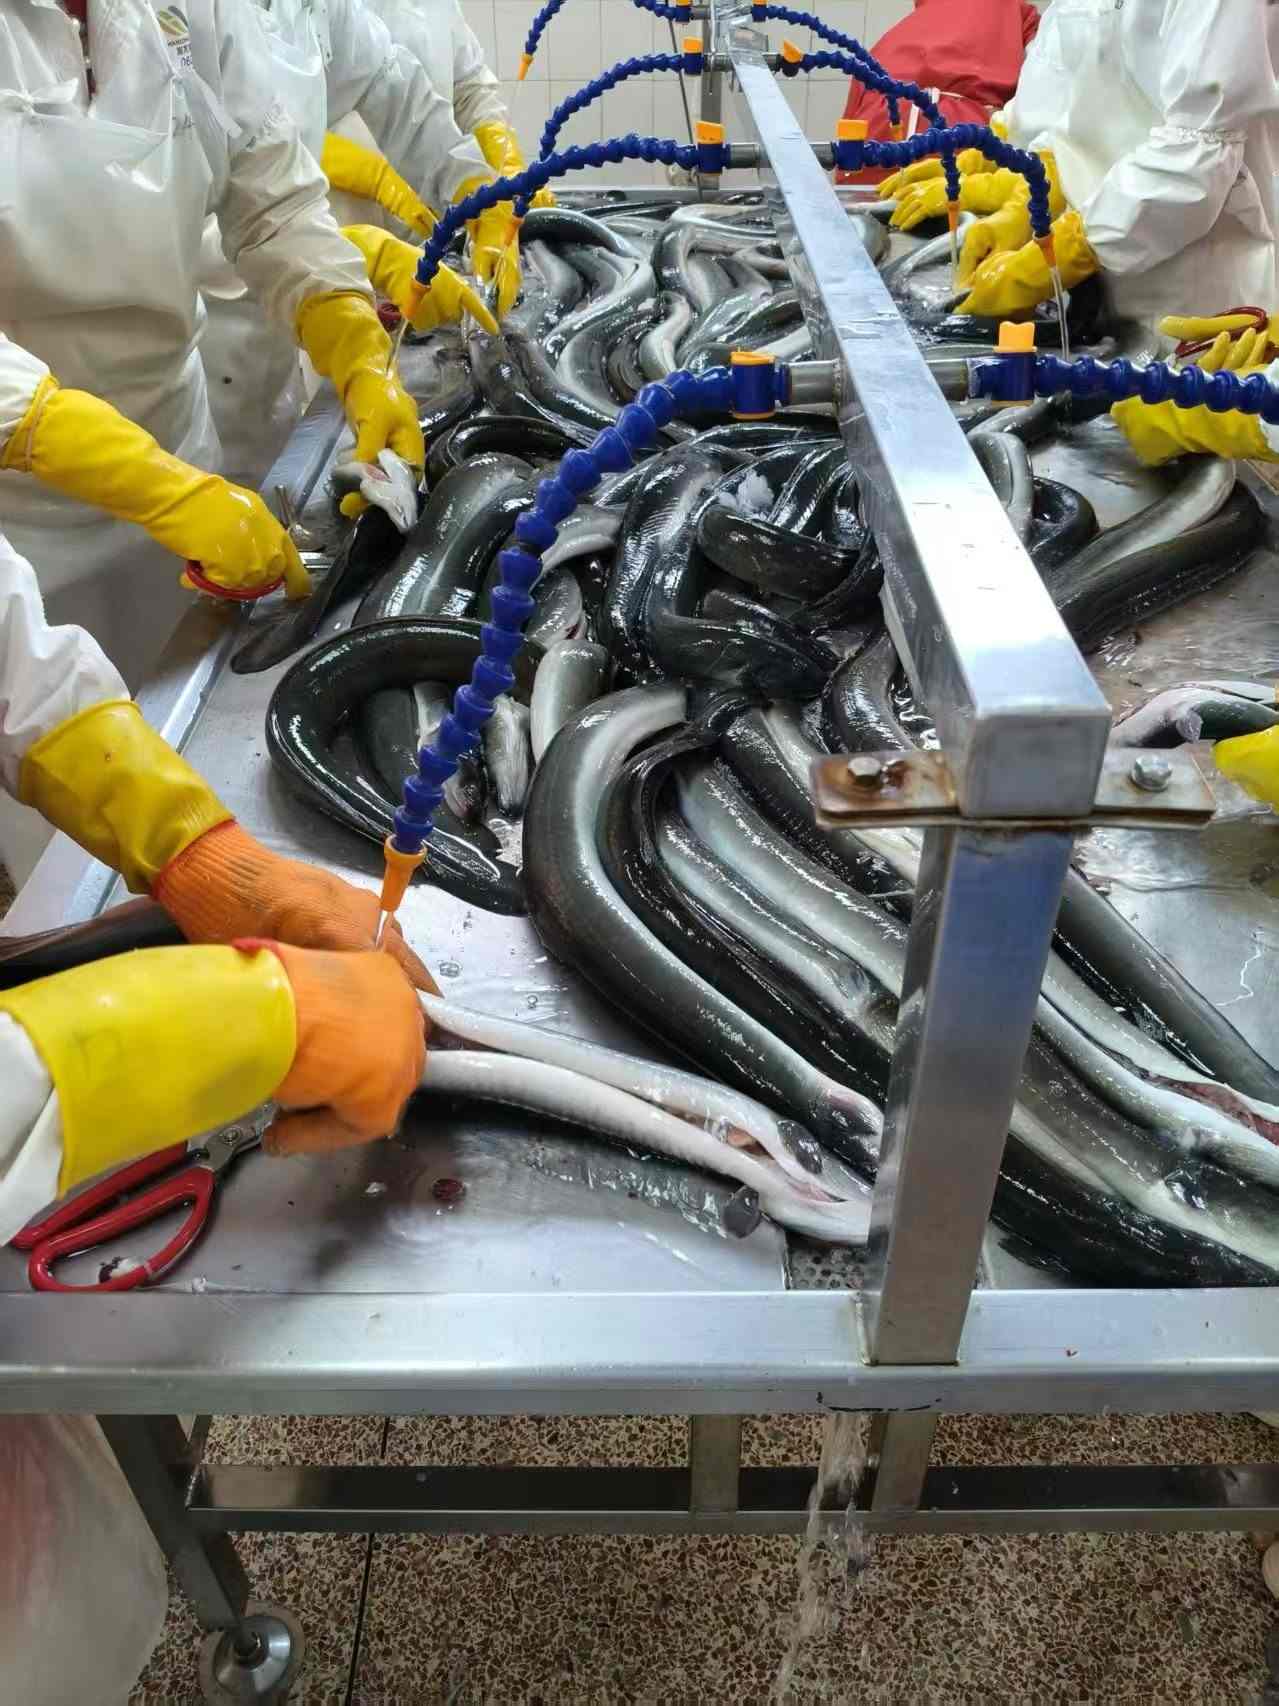
How to Clean Eel Without Tearing the Flesh
You bring home a live eel, and five minutes later it's still thrashing on the cutting board while your knife slips off the slime. Sound familiar? Most torn fillets happen in the first 30 seconds of handling, not during the actual cut. Knowing how to clean eel properly — from gripping the slippery body to rinsing the bloodline — is the difference between a restaurant-quality fillet and shredded scraps.
This guide walks through the exact sequence, the tools that actually help, and the mistakes that ruin otherwise good eel. It's written for home cooks tackling their first whole eel and for kitchen teams prepping batches before grilling or kabayaki-style glazing.
Why Eel Is Harder to Clean Than Other Fish
Eel skin carries a thick mucus layer — a natural defense that makes the body nearly impossible to grip bare-handed. Unlike flat fish, eel has no obvious belly cavity to open first; the backbone runs almost the full length of a round, muscular body. Add in the fact that eel can stay alive and reflexively twitch even after the head is removed, and you've got a prep job that punishes rushed movements.
- Thick slime coating — reduces grip, causes knife slips
- Round body shape — no flat surface to stabilize against the board
- Tough skin — needs a controlled nail or pin to pierce cleanly
- Residual nerve activity — movement after the first cut if not stunned properly
For background on the species itself and its biology, the freshwater eel genus page is a useful starting reference.
Tools You Need Before You Start
Gathering the right tools first prevents the mid-task scramble that usually leads to a torn fillet.
| Tool | Purpose | Substitute |
|---|---|---|
| Coarse salt or kitchen towel | Grip the slimy body | Rubber kitchen gloves |
| Awl or large nail | Pin the head to the board | Ice pick |
| Thin, flexible boning knife | Follow the backbone curve | Fillet knife |
| Cutting board with a groove or lip | Catch slime and blood | Tray under a standard board |
| Running cold water | Rinse the bloodline | Bowl with frequent water changes |
Skip the salt-and-towel step and you'll lose control within the first cut — this is the single most common beginner mistake.
Step-by-Step: Securing, Opening, and Rinsing Without Damaging the Fillet
This is the core sequence. Follow it in order — skipping steps is where most torn fillets happen.
Step 1: Secure the Eel
Rub coarse salt into both hands and across the eel's body, or wrap it firmly in a kitchen towel. Pin the head to the board with an awl through the base of the skull, just behind the eyes. The eel must stop moving before you cut — cutting into a live, twitching body is the top cause of jagged, uneven slices.
Common failure: Pinning too far forward through the eye socket, which lets the body still whip and tear the knife path.
Step 2: Open Along the Backbone
Insert the knife tip just behind the head, blade angled flat against the bone. Run the blade in one continuous stroke toward the tail, keeping pressure against the spine rather than the flesh. Open the body like a book, backbone exposed on one side.
Common failure: Sawing back and forth instead of one smooth pass — this is what shreds the fillet surface instead of leaving a clean cut.
Step 3: Remove the Organs
Once opened, the organ cavity sits just below the head. Scrape it out with the knife's spine or a spoon in a single motion, pulling toward the tail. Avoid pressing into the liver or intestine — rupturing them releases bitterness onto the flesh.
Common failure: Digging in multiple directions, which spreads organ residue across the fillet instead of lifting it out cleanly.
Step 4: Rinse the Bloodline
Run the opened eel under cold water, thumb pressed gently along the dark bloodline that runs the length of the spine. Keep water temperature cold, around 0–4°C (32–39°F), to firm the flesh and limit bacterial growth during handling. Rinse until the water runs clear, not scrubbing — just steady pressure and flow.
Common failure: Scrubbing with fingernails or a brush, which tears the thin muscle fibers right where they're most exposed.
Once rinsed, pat the fillet dry before any further cutting, skinning, or deboning. For a closer look at the skinning and bone-removal stage that follows, see this cleaning, skinning, and deboning guide.
Common Mistakes That Tear the Flesh
- Using a dull knife — forces extra pressure, which drags rather than slices
- Cutting against the grain near the tail — the muscle fibers there are thinner and tear easily
- Letting the eel sit too long after pinning — muscle stiffens unevenly, making the backbone cut harder to follow
- Skipping the salt rub — leads to hand slippage mid-cut
- Rinsing in warm water — softens the flesh and makes it prone to splitting during cooking
After Cleaning: Prepping for Grilling or Kabayaki-Style Cooking
Once the fillet is clean and the bloodline rinsed, pat it fully dry — surface moisture interferes with even glazing. From here, most kitchens either grill directly or move toward a kabayaki-style preparation with repeated soy-based basting layers. If you're curious how the sauce itself affects texture and flavor at this stage, this piece on kabayaki sauce explains the layering logic in more detail.
For cooks who want the cleaning step removed from their workflow entirely, pre-cleaned frozen unagi kabayaki is already filleted, deboned, and glazed — useful for foodservice operations where consistent cut specs matter more than doing the prep in-house.

Buyer's Checklist: When to Clean Whole Eel vs. Source Pre-Cleaned
Home cleaning makes sense for small batches and hands-on cooking. It stops making sense once volume or consistency becomes the priority. Use this checklist to decide:
- Cleaning fewer than 5 eels at a time? Manual cleaning is fine — follow the steps above.
- Running a restaurant line needing uniform cuts? Pre-cut, boneless eel reduces back-of-house labor and cutting variance.
- Need traceability for import compliance? Sourcing from farms with full-chain traceability — from registered farming bases through lab verification — matters more than in-house skill.
- Storage space limited? Frozen, pre-portioned eel stores more predictably than live stock awaiting same-day cleaning.
Eelpro's supply comes from roughly 20 customs-registered eel farming bases covering over 2,150 mu, with in-house lab testing and metal detection at critical control points — relevant context if you're weighing DIY cleaning against sourcing already-processed product for a commercial kitchen. Quality control standards applied to export orders follow recognized food safety benchmarks for microbiological and veterinary drug residue limits.
If whole-eel prep isn't practical for your kitchen volume, our team can walk you through spec options for pre-cleaned or kabayaki-ready product — request a sample or spec sheet to compare against your current process.