

Here is the best way for unagi how to cook in professional kitchens
For food importers and restaurant chains, the final quality of a dish often depends on the last few minutes of preparation. You've sourced premium frozen unagi kabayaki, but how your clients or kitchen staff reheat it determines whether the customer experiences a tender, flavorful fillet or a dry, disappointing meal. The wrong method can ruin the delicate texture and burn the carefully applied glaze, wasting product and damaging your reputation. Understanding unagi how to cook from its pre-cooked state is not just a culinary question—it's a critical control point for quality assurance.
My name is Nancy Chen, and as a Senior Food Safety & Quality Specialist at Eelpro, I've spent over a decade ensuring our products meet the exacting standards of clients in Japan, the US, and the EU. The key to consistency lies in a standardized process, from our eel farm to the final plating. This guide provides clear, repeatable protocols for preparing frozen unagi, ensuring every serving reflects the quality you invested in.
Why Reheating Method Matters for Pre-Cooked Unagi Kabayaki
Our unagi kabayaki undergoes a precise four-layer roasting process, where each layer of soy sauce is applied at a specific temperature. This patented low-fat process creates a rich, umami-filled glaze and a succulent texture. The goal of reheating is to bring the eel to serving temperature while perfectly preserving these two attributes. It is not about "cooking" the eel, but rather gently reviving it.
The choice of heating method directly impacts:
- Glaze Integrity: The kabayaki glaze is a delicate balance of soy sauce, mirin, and sugar. High, direct heat can cause the sugar to burn before the fillet is warmed through, resulting in a bitter taste and blackened appearance. The right method melts the glaze back to a perfect viscosity.
- Flesh Texture: Eel meat is naturally tender and high in healthy oils. Overheating or using a dry heating method can cause these oils to render out, leaving the flesh tough, dry, and stringy. The goal is a flaky, moist texture that melts in the mouth.
- Product Yield: Aggressive cooking methods can cause moisture loss, shrinking the fillet and reducing your final yield. A controlled reheating process maintains the product's original size and weight as much as possible, protecting your profit margins.
- Operational Consistency: For restaurant chains and large-scale catering, every dish must be identical. A standardized, well-documented reheating protocol ensures that a customer in one location has the same experience as a customer in another, regardless of which chef is on duty.

Choosing the Right Cooking Method: Oven, Broiler, Grill, or Pan
The ideal reheating method depends on the equipment available, the volume of orders, and the desired final presentation. For our foodservice partners in the United States and Germany, consistency in batch preparation is key, making oven and broiler methods highly effective. Below is a direct comparison to help you establish your kitchen's standard operating procedure.
| Method | Best For Product Format | Glaze Protection | Texture Outcome | Best Use Case / Scenario | Key Risks |
|---|---|---|---|---|---|
| Convection Oven | Whole fillets, large cut pieces | Excellent | Soft, moist, and evenly heated | Large batch preparation for catering or high-volume restaurants. Most consistent method. | Can take longer; risks drying out if uncovered or cooked too long. |
| Broiler / Salamander | Whole fillets, sushi slices | Good (with attention) | Slightly crisp surface, blistering glaze, soft interior | Quick finishing to order; achieving a "freshly grilled" appearance. | High risk of burning the glaze. Requires constant monitoring. Not ideal for batch cooking. |
| Gas / Charcoal Grill | Whole fillets, skewers | Fair | Smoky flavor, authentic char marks, crispy skin | High-end Japanese restaurants seeking authentic "sumiyaki" (charcoal-grilled) flavor. | Glaze drips and causes flare-ups; eel can stick and break apart easily. High skill required. |
| Pan-Sear (Sauté) | Cut pieces, dicing, shreds | Requires Skill | Crispy skin and edges, soft interior | Incorporating into stir-fries, fried rice, or other dishes where texture contrast is desired. | Uneven heating; easy to overcook. Glaze can burn onto the pan surface. |
Step-by-Step Protocol for Oven Reheating (Recommended for Consistency)
For most foodservice operations, the convection oven offers the best balance of quality, consistency, and ease of use. It provides gentle, even heat that warms the eel without scorching the delicate sauce. Follow this procedure for reliable results every time.
Objective: To reheat frozen, pre-cooked unagi kabayaki to an internal temperature of 74°C (165°F) while maintaining a moist texture and intact glaze.
- Thawing (Critical First Step): Never cook unagi from a hard-frozen state. Transfer the required quantity of vacuum-packed eel from the freezer to the refrigerator 8-12 hours before service. This slow, controlled thaw prevents texture damage.
- Pre-Preparation: Preheat your convection oven to 180°C (350°F). Line a sheet pan with parchment paper to prevent sticking and simplify cleanup.
- Arrangement: Remove the thawed eel fillets from their packaging and place them skin-side down on the prepared sheet pan. Do not overcrowd the pan; leave at least 2-3 cm (1 inch) between fillets for even air circulation.
- Moisture Addition (Optional but Recommended): For an extra-moist result, lightly brush the fillets with a small amount of sake, water, or a thin layer of additional eel sauce. This creates steam in the oven, preventing the surface from drying out.
- Heating: Place the pan in the preheated oven. Heat for 6-8 minutes. The exact time will depend on the thickness of the fillets and the calibration of your oven.
- Quality Check: At the 6-minute mark, check the eel. The glaze should be bubbling slightly and glossy, and the center should be hot. Use a digital food thermometer to confirm the internal temperature has reached at least 74°C.
- Serving: Once heated, the unagi is ready to be sliced for eel sushi rolls, placed atop rice for unadon, or incorporated into other dishes. Serve immediately.
Common Mistakes in Unagi Preparation and How to Avoid Them
As a quality assurance manager, I often help new clients troubleshoot preparation issues. Nearly all problems trace back to a few common errors. By training your staff to avoid these pitfalls, you can ensure product consistency and minimize waste.
- Mistake #1: Microwave Reheating.
- Why it's wrong: Microwaves heat unevenly, creating hot spots that turn the eel's flesh rubbery and dry while other parts remain cold. It completely ruins the delicate texture.
- The Fix: Ban microwave use for unagi. Use one of the approved methods above (oven, broiler, pan). The oven is the safest for consistency.
- Mistake #2: Cooking from Frozen.
- Why it's wrong: The exterior will overcook and burn long before the inside is thawed and heated. This results in a fillet that is simultaneously burnt and cold.
- The Fix: Implement a strict "thaw-under-refrigeration" policy in your kitchen's HACCP plan. Plan inventory usage to allow for proper thawing time.
- Mistake #3: Using Excessive Heat.
- Why it's wrong: A broiler set too high or a scorching hot pan will caramelize the sugars in the unagi tare too quickly, turning the glaze black and bitter.
- The Fix: Calibrate your equipment and establish set temperatures and times. For broilers, use a lower rack position. For pans, use medium heat. Always monitor visually.
- Mistake #4: Not Preparing the Cooking Surface.
- Why it's wrong: The sugary glaze will stick to a dry grill or unlined pan, tearing the delicate skin and ruining the presentation.
- The Fix: Always use parchment paper for oven baking. For grilling, ensure the grates are clean and well-oiled. For pan-searing, use a non-stick pan or a light coating of neutral oil.
Source Unagi Designed for Foodservice Success
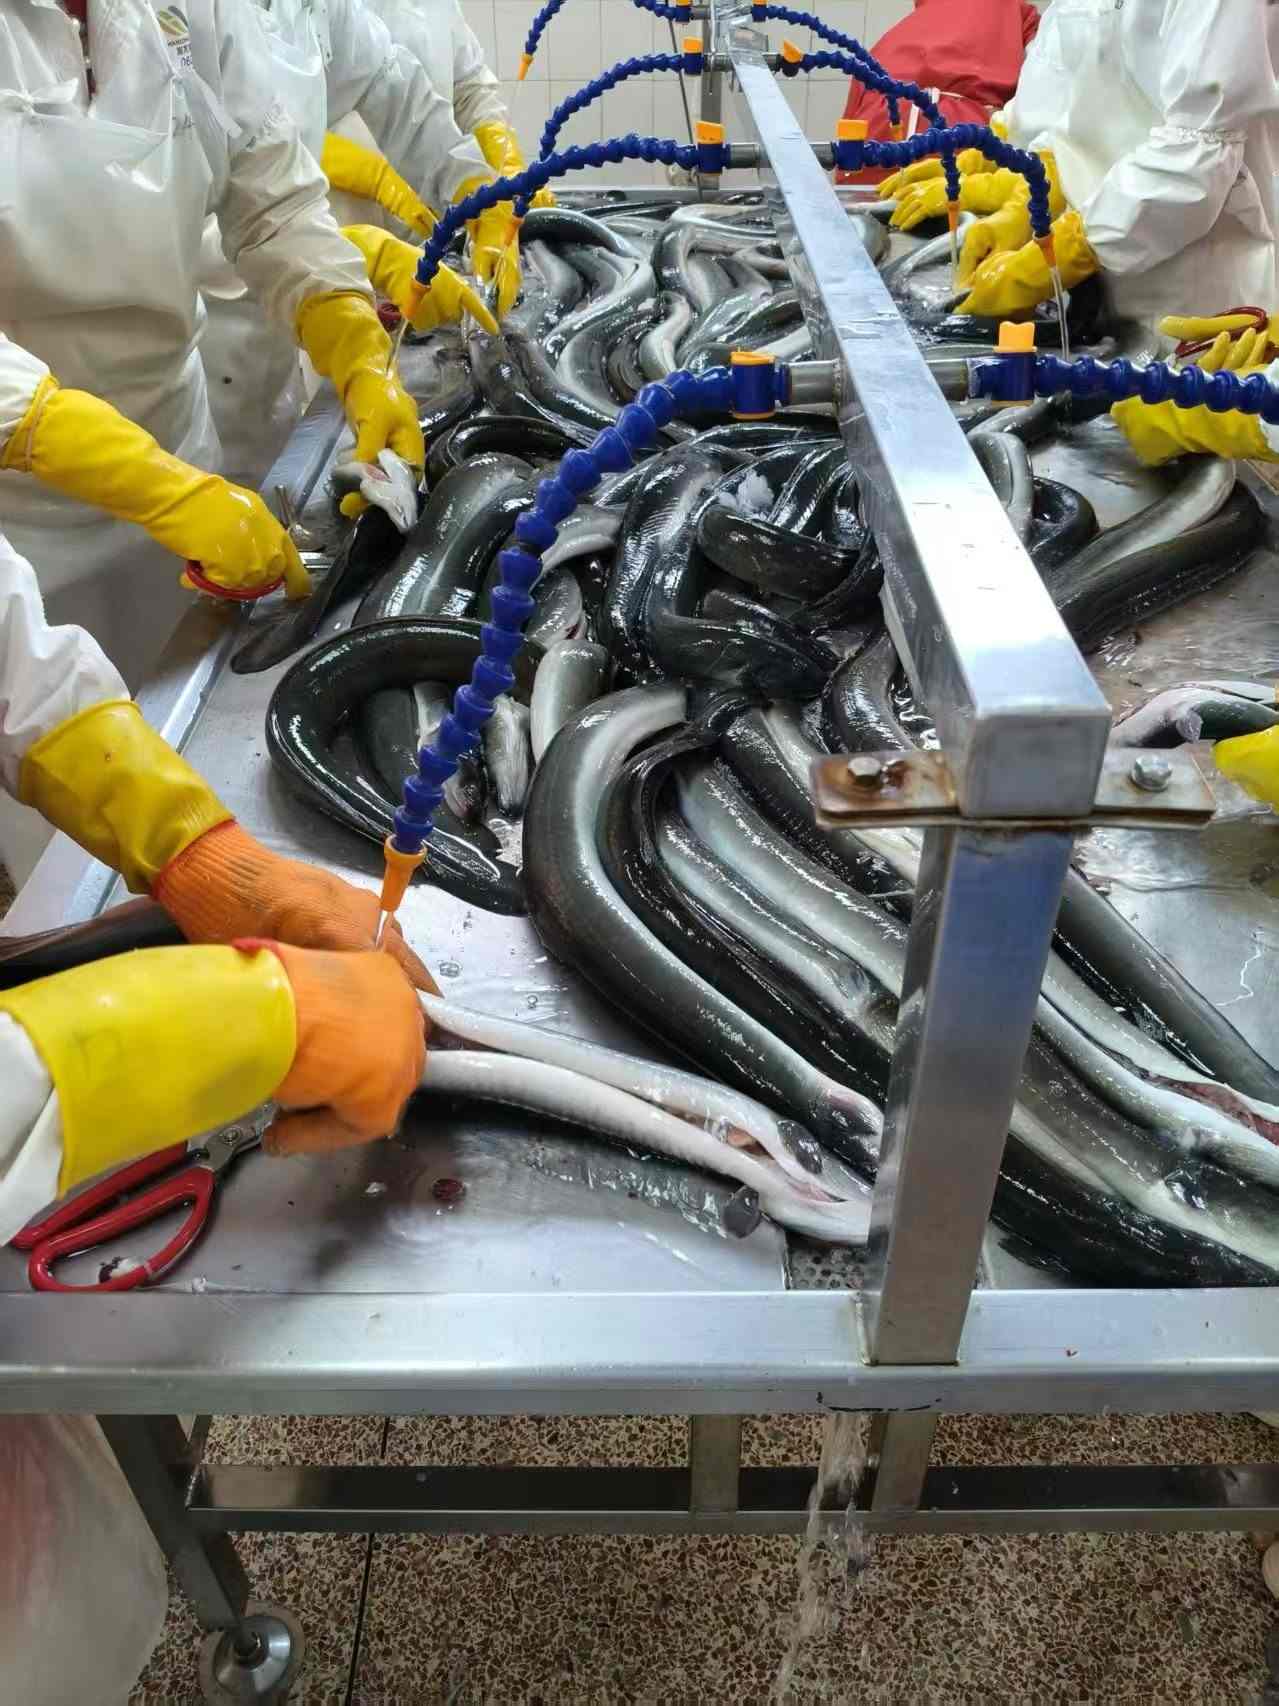
The success of your final dish begins long before it reaches the kitchen. It starts with sourcing a product designed for the rigors of commercial use. At Eelpro, our entire process is built around delivering a consistent, safe, and high-quality product for our export partners.
Our 4,000-ton annual production capacity and 1,000-ton cold storage facility ensure a stable supply chain. Every fillet comes from one of our ~20 customs-registered farming bases, offering full-chain traceability from farm to shipment. Our facility is certified for ISO 22000:2018, HACCP, and HALAL, and our products are processed to meet stringent Japanese, US, and EU food inspection standards for veterinary drug residues and microbiological indicators. This helps you avoid import risks and ensures your customers receive a safe, premium product.
We offer custom cutting specifications—from sushi slices to chunk-cutting—and flexible MOQ policies to support your specific operational needs. By providing a boneless, perfectly glazed, and ready-to-heat product, we help reduce your back-of-house labor costs and ensure consistency across every location.
For detailed product specifications or to discuss how our frozen unagi kabayaki can fit into your menu, please request a quote from our export team.