

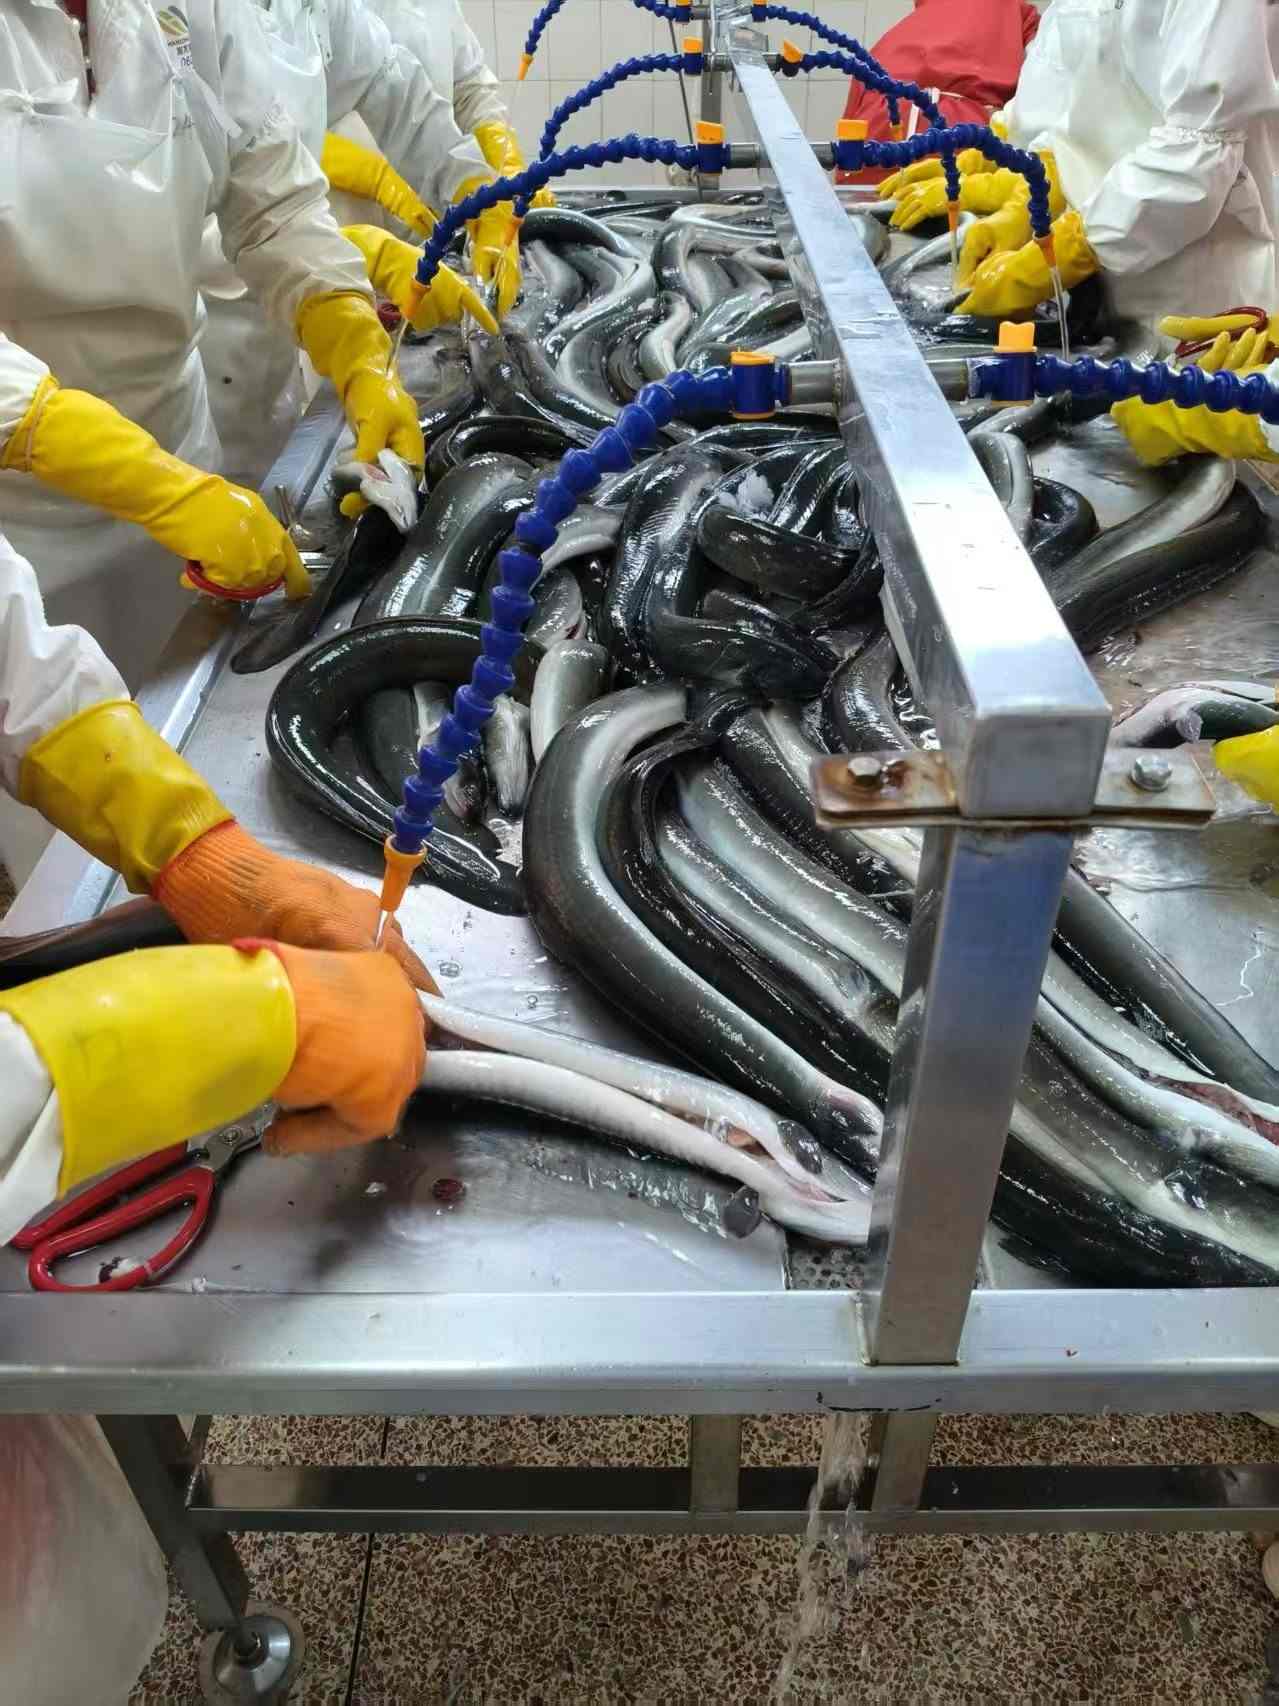
How to Clean Eel Without Damaging the Fillet
For any chef or food processor, the first encounter with a live or fresh eel is memorable. The challenge isn't just the filleting; it's the slick, protective slime that makes the entire process hazardous and inefficient. An insecure grip leads to poor cuts, damaged fillets, and wasted product—a direct hit to your bottom line. Understanding how to clean eel properly is the first critical step in turning high-quality raw material into a premium menu item. This isn't just about rinsing; it's about a systematic approach to neutralize the slime, secure the fish, and execute precise cuts for maximum yield.
At Eelpro, we process over 4,000 tons of eel annually. Our two modern production lines are built around standardized, repeatable methods that ensure every fillet meets export-grade specifications for our clients in Japan, the US, and the European Union. While our unagi kabayaki arrives ready-to-heat, we understand the challenges our foodservice partners face when working with fresh ingredients. This guide outlines the professional techniques for handling and cleaning eel that our own quality control team of 25 specialists oversees daily.
Why Standard Rinsing Fails: A Diagnostic Guide to Secure Eel Handling
Simply running an eel under cold water is often insufficient. The glycoprotein-based slime is remarkably resilient and designed to be slippery. When a simple rinse fails, it creates unsafe knife work and results in torn flesh, uneven fillets, and product loss. The key is to diagnose the specific handling problem and apply the correct technique to neutralize the slime and secure the eel.
This is a common issue in back-of-house operations where speed is essential. Below is a troubleshooting framework to identify why your eel is still slipping and how to fix it, moving beyond a simple water rinse to methods that provide the friction and stability needed for clean, professional cuts.
Troubleshooting Slippery Eel During Processing
| Symptom / Problem | Probable Cause | Recommended Corrective Action | Limitations / When This Isn't Enough |
|---|---|---|---|
| Eel still feels very slick after a cold water rinse. | The slime's protein structure is intact. Water alone doesn't break it down; it only washes away loose contaminants. | Use an abrasive. Vigorously rub the eel's skin with coarse salt. This physically scrapes off the slime layer. Alternatively, a short soak (2-3 minutes) in a mild vinegar-water solution can help coagulate the slime, making it easier to wipe away. | If the slime is exceptionally thick, a single salt application may not be enough. You may need to repeat the process or use a combination of salt abrasion followed by a vinegar wipe-down. |
| The eel is secure at the head but the tail whips around. | Lack of a secondary anchor point. The eel's long, muscular body can pivot and move unpredictably, even when the head is fixed. | Pin the head to a board with a nail or awl. Use a heavy-duty kitchen towel or specialized fish clamp to grip the tail firmly. This creates two points of control, preventing rotation. | For very large eels, a towel may not provide enough grip. In commercial settings, a purpose-built clamp or a second person assisting may be necessary to maintain control. |
| The knife slips on the skin, resulting in a jagged, shallow cut. | A thin, residual layer of moisture and slime is creating a hydroplaning effect between the blade and the skin. | After de-sliming, pat the entire surface of the eel completely dry with paper towels. Ensure your cutting surface is also dry. A dry surface provides the necessary friction for the knife to bite. | This method relies on a sharp knife. If your blade is dull, it will still slide over the tough skin, regardless of how dry the surface is. Always start with a properly sharpened filleting knife. |
| The flesh tears when separating the fillet from the bone. | The eel is not held taut. If the body has slack, the pressure from the knife will bunch up the flesh and tear it instead of slicing cleanly. | Maintain constant tension. While cutting along the spine, use your non-knife hand to pull the fillet away from the bone structure. This tension creates a clean separation line for the blade to follow. | This technique is less effective if the initial de-sliming and securing steps were not performed correctly. Without a stable base, you cannot apply consistent tension. |
A Step-by-Step Commercial Guide to Cleaning and Filleting Eel
Once you have the right techniques for securing the eel, the cleaning and filleting process becomes a systematic task. This procedure is designed for efficiency and to maximize the usable product. Following these steps helps enforce the principles of a HACCP system by establishing clear, repeatable critical control points for quality.
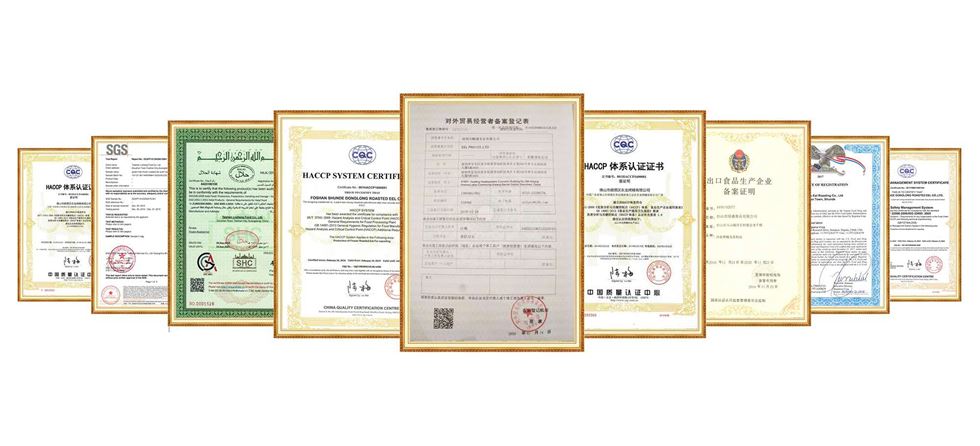
Our facility is ISO 22000:2018 and HACCP certified, and this process reflects the core principles we apply to our raw material preparation before it enters our patented low-fat roasting and deodorizing lines.
- Prepare Your Station: Before you begin, have everything ready. You will need a large cutting board (preferably with a spike or nail), a very sharp filleting knife, a boning knife, coarse salt, paper towels, and two containers—one for waste and one for the finished fillets. A clean and organized station prevents cross-contamination and improves safety.
- De-Slime the Eel: Place the eel in a sink or large basin. Generously coat it with coarse salt and scrub the skin firmly from head to tail. You will feel the slime coagulate and come off. Rinse thoroughly under cold running water. The skin should now feel tacky and rough, not slick. Pat it completely dry.
- Secure the Eel: Drive the nail on your cutting board through the eel's head to anchor it firmly. If you don't have a nail, use a heavy object to pin the head down. Stretch the eel's body out straight.
- Make Initial Incisions: Using your filleting knife, make a shallow cut completely around the eel's body, just behind the pectoral fins. Then, make a long, shallow incision down the entire length of the back, just to one side of the dorsal fin. Follow this with another long incision along the belly, from the vent to the head.
- Remove the Viscera: Open the belly cavity and carefully pull out all the internal organs. Scrape along the backbone with the tip of your knife or a spoon to remove the dark bloodline (kidney). This is critical, as any remaining bloodline will impart a bitter, muddy flavor to the final product.
- Fillet the Eel: Starting from the head, insert your knife into the dorsal incision and run it along the spine, keeping the blade angled slightly downward against the bone. Use long, smooth strokes. Peel the fillet away from the skeleton as you cut. Flip the eel over and repeat on the other side. You should be left with two long fillets and the central skeleton.
- Final Inspection and Rinse: Inspect the fillets for any remaining bones, fins, or bits of viscera. The pin bones in eel are numerous but are often cooked until soft or removed after cooking. Give the fillets a final, quick rinse in cold water to wash away any remaining residue and pat them dry immediately. They are now ready for skinning (if desired) or portioning for recipes like eel sushi rolls or grilling.

Quality Assurance: What to Look for in a Perfectly Cleaned Eel
For foodservice buyers and chefs, consistency is paramount. Whether you are processing in-house or sourcing pre-processed products, knowing the quality indicators for a well-cleaned eel ensures you are starting with the best possible ingredient. At Eelpro, our quality control team uses a strict checklist at every stage, from our 20 customs-registered eel farms to our final packaging line. This same scrutiny should be applied in your own kitchen.
Buyer's Checklist for Cleaned Eel Fillets
- Flesh Integrity: The fillet should be whole and intact. Look for signs of tearing, gapping, or ragged edges. These are indicators of poor handling, a dull knife, or an insecure grip during filleting. Damaged fillets cook unevenly and have poor plate presentation. _Absence of Bloodline: Check the inner surface of the fillet where it met the backbone. There should be no dark red or brown residue. A completely removed bloodline results in a cleaner, sweeter flavor, essential for delicate preparations.
- No Remaining Viscera or Membranes: The belly cavity area should be smooth and clean. Any remaining silvery or grey membranes should be removed, as they can become tough and unpalatable when cooked.
- Skin Condition: The skin should be uniformly colored and free of deep nicks or cuts (unless intentionally scored for a recipe). It should feel clean and non-slimy to the touch.
- Odor: The cleaned fillet should have a fresh, mild, and slightly sweet smell characteristic of fresh fish. Any hint of ammonia, muddiness, or sourness is a sign of spoilage or improper cleaning. Our own professional laboratory and metal detectors at critical control points ensure our products meet stringent export standards for Japan and the US, where such defects are unacceptable.
The expertise required for consistently high-yield eel processing is significant. It involves trained staff, specialized equipment, and rigorous quality control. This is why many high-volume restaurant chains and food importers in Germany, Poland, and Australia partner with suppliers like us. Our boneless, pre-portioned, and ready-to-heat frozen eel supplier products eliminate these back-of-house challenges, reducing labor costs and guaranteeing a safe, consistent product that meets EU food inspection standards for veterinary drug residues and microbiological indicators.
By mastering how to clean eel or by sourcing from a certified producer, you ensure that the final dish lives up to the premium nature of the ingredient. For information on our custom cutting specifications—including shredding, dicing, and sushi slices—or our flexible MOQ policies, please contact our export team.