

How to Use Kabayaki Sauce on Fish Without Burning It
Your fish looks perfect until the last two minutes under the broiler. Then the kabayaki sauce flips from glossy mahogany to a black, bitter crust — and smoke fills the kitchen. This happens because kabayaki sauce is mostly sugar and reduced soy, and sugar starts scorching once it passes roughly 160°C (320°F). The fix isn't a different sauce. It's timing — when you brush it, how much you reapply, and exactly when you stop. Below is the brushing schedule used in commercial roasting lines, scaled down for a home or restaurant grill.
Why Kabayaki Sauce Burns Faster Than a Regular Marinade
Most marinades are oil- and acid-based. Kabayaki sauce is different — it's built from reduced soy sauce, sugar (or mirin), and sometimes dashi, cooked down into a thick, sticky glaze. That sugar content is exactly what gives unagi its signature shine and dark color, but it's also what makes the sauce unstable at high heat. Sugar molecules caramelize around 160°C, then move into bitter, carbon-dark territory just a few degrees later. Soy sauce proteins add another layer of risk through the Maillard reaction, which browns food quickly but can tip into burning in seconds if the glaze sits directly over flame too long.
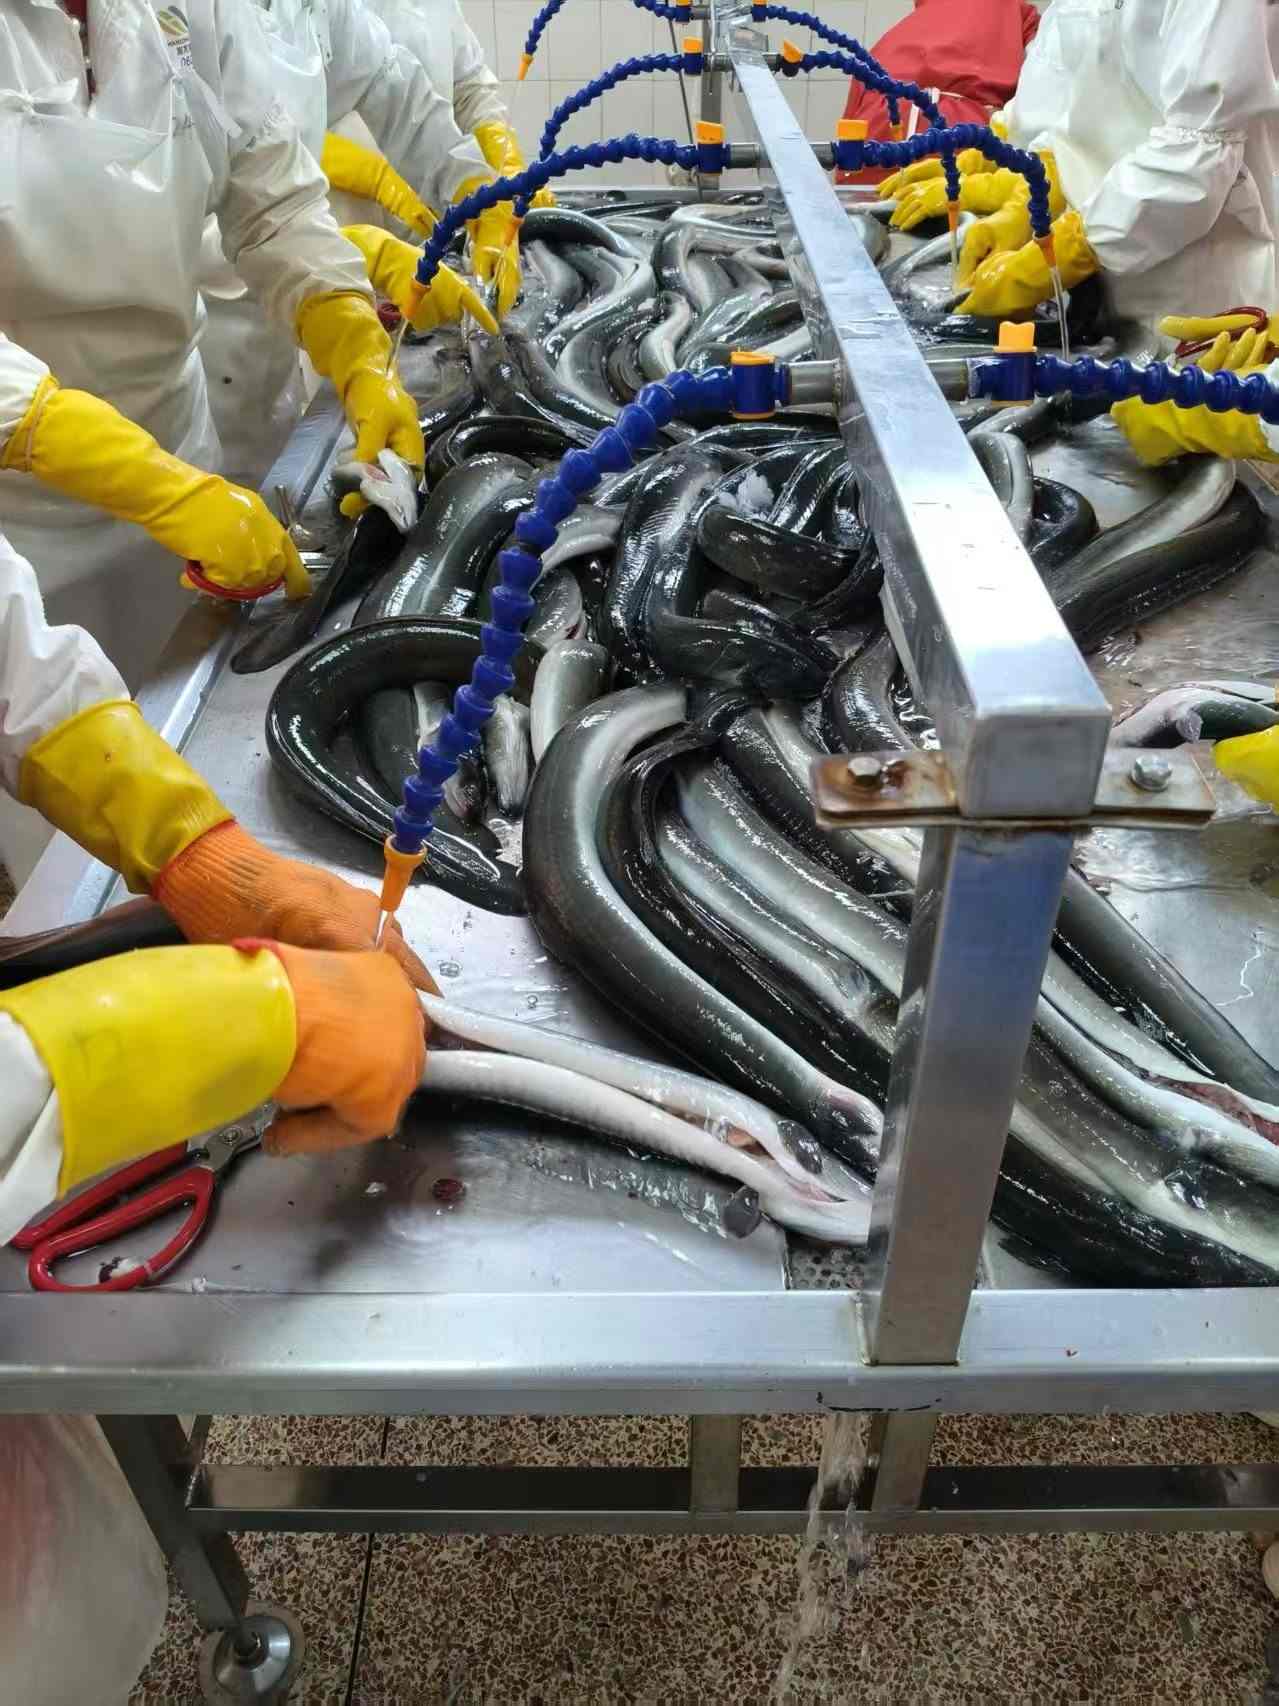
This is why commercial processors apply sauce in layers rather than one heavy coat. Eelpro's roasting line uses a four-layer soy-sauce coating process with temperature-controlled steps between each pass — each layer is thin enough to set without scorching before the next one goes on. You can copy that logic at home: thin layers, controlled heat, timed intervals.
When to Brush, Reapply, and Finish the Glaze
This is the part most home cooks get wrong — they brush once, heavily, right at the start. Instead, treat glazing as a four-stage process:
- Stage 1 — First brush (before heat or at low heat): Apply a thin, even coat on raw or pre-roasted fish. Checkpoint: the sauce should look wet, not pooled. Failure reason: a thick first coat burns before the fish itself is even cooked through.
- Stage 2 — Second brush (2–3 minutes in, once the surface firms up): Reapply a light layer once the flesh has set and lost its raw sheen. Checkpoint: sauce should tack slightly, not bubble violently. Failure reason: brushing too soon on a still-wet surface just washes the first coat off.
- Stage 3 — Build layer (mid-cook, roughly halfway through total time): Add a third thin coat to deepen color. Checkpoint: edges should look glossy-brown, not black. Failure reason: skipping this step and trying to "catch up" with one thick coat near the end.
- Stage 4 — Finish brush (last 45–60 seconds only): One final light pass, then pull the fish immediately and rest it for a minute off direct heat. Checkpoint: color should be deep amber-brown, glossy, not matte-black. Failure reason: walking away during this window — this is where most burning happens, because sugar is already near its scorch point.
Skip any one of these stages and you either get a pale, flavorless surface or a scorched one — there's not much middle ground with a sugar-heavy glaze.
Grill Temperature and Timing by Fish Thickness
Thickness changes how much heat the glaze can tolerate before the inside is even cooked. Use this as a starting reference, then adjust by sight — color change happens fast on sugar-based sauces.
| Fish Type / Thickness | Heat Setting | Total Cook Time | Brush Interval |
|---|---|---|---|
| Thin fillet, skin-on (<1 cm) | Medium, ~180°C | 6–8 minutes | Every 2 minutes |
| Medium fillet (1–2 cm) | Medium-high, ~200°C | 8–10 minutes | Every 2–3 minutes |
| Pre-roasted frozen unagi kabayaki (thawed) | High broil, ~220°C | 5–6 minutes | Once at start, once to finish only |
Note the last row — pre-roasted frozen unagi kabayaki is already cooked and glazed once in processing. You're reheating and re-glossing, not cooking raw flesh, so it needs far less time and only a light finishing brush to avoid double-caramelizing into bitterness.
Common Mistakes That Burn the Glaze
- Brushing a full, heavy coat at the very start — sugar hits scorch temperature long before the fish is done.
- Using cold sauce straight from the fridge — it seizes unevenly on a hot surface, creating thick spots that burn while thin spots stay pale.
- Placing fish too close to direct flame on the final pass — the last 60 seconds need indirect or lower heat, not more intensity.
- Walking away during the finish stage — this is the single biggest cause of blackened glaze; sugar can go from perfect to burnt in under 20 seconds.
- Reusing sauce that's already touched raw fish for a later brush without reheating it — this is a food safety issue, not just a flavor one.
Buyer's Checklist: Picking a Kabayaki Sauce That Caramelizes Evenly
Not all bottled kabayaki sauce behaves the same way under heat. Viscosity, sugar ratio, and how the soy was reduced all affect how forgiving the glaze is. Before buying in bulk for a restaurant menu, check:
- Viscosity at room temperature — a sauce too thin runs off before it caramelizes; too thick and it scorches in spots.
- Layered reduction process — sauces built through multiple controlled soy-sauce coating steps (rather than one quick boil) glaze more evenly and hold color longer.
- Certification and traceability — for export or foodservice use, confirm the supplier holds ISO 22000 and HACCP certification, with documented sourcing from certified eel farming bases.
- Lab-tested consistency — ask whether batches are checked in an in-house laboratory, since inconsistent sugar content between batches is a common reason the same recipe burns one week and doesn't the next.
- Cold-chain handling — sauce stored and shipped through proper cold storage keeps its texture; sauce that's been through temperature swings can separate and brush unevenly.
If you're sourcing for a menu rather than a single dish, it's worth reading more on why a well-made kabayaki sauce behaves differently on the grill before committing to a supplier.
Worked Example — Glazing a Frozen Unagi Kabayaki Fillet at Home
Say you've got a vacuum-packed, pre-roasted eel fillet from the freezer and a bottle of eel sauce (unagi tare) on the counter. Here's the actual sequence:
- Thaw the fillet in the refrigerator overnight, or under cold running water for 20 minutes if you're short on time. Pat it dry — excess moisture dilutes the glaze.
- Preheat the broiler or oven to around 220°C. Line a tray with foil, skin-side down.
- Brush a thin coat of sauce. Broil for 3 minutes.
- Pull the tray, brush a second thin coat, and broil another 2 minutes — watch for color, not the clock.
- In the last 30–45 seconds, brush once more and move the tray to a lower rack if the top is already deep amber. Pull immediately once the surface looks glossy and slightly bubbled at the edges.
- Rest for 1 minute before slicing — this lets the glaze set instead of running off onto the cutting board.
Total active glazing time here is under 6 minutes, because the fillet was already roasted once during processing. Trying to treat it like raw fish — four full brushing stages over 10 minutes — is the fastest way to burn it.
For more hands-on technique, see the detailed kabayaki sauce recipe guide for fixing flavor mistakes, or browse frozen eel supplier options if you're sourcing fillets for a menu rather than a single meal.
Have a glazing question specific to your grill setup or batch size? Request a sample of our kabayaki sauce or ask for a spec sheet — we're happy to advise on brushing schedules for your equipment before you order.