

Does Eel Have Bones? How to Spot Fine Ones Before Serving Unagi
A guest bites into a glossy piece of unagi and stops mid-chew. Something thin and sharp is in there. So, does eel have bones even after it has been steamed, grilled and glazed? Yes. Cooking softens some of them, but it does not make them disappear.
This guide is for kitchen and front-of-house staff who handle unagi kabayaki eel after it arrives. You will leave with a repeatable check you can run in under a minute per tray, plus a plan for when a bone turns up.

What you are actually looking for
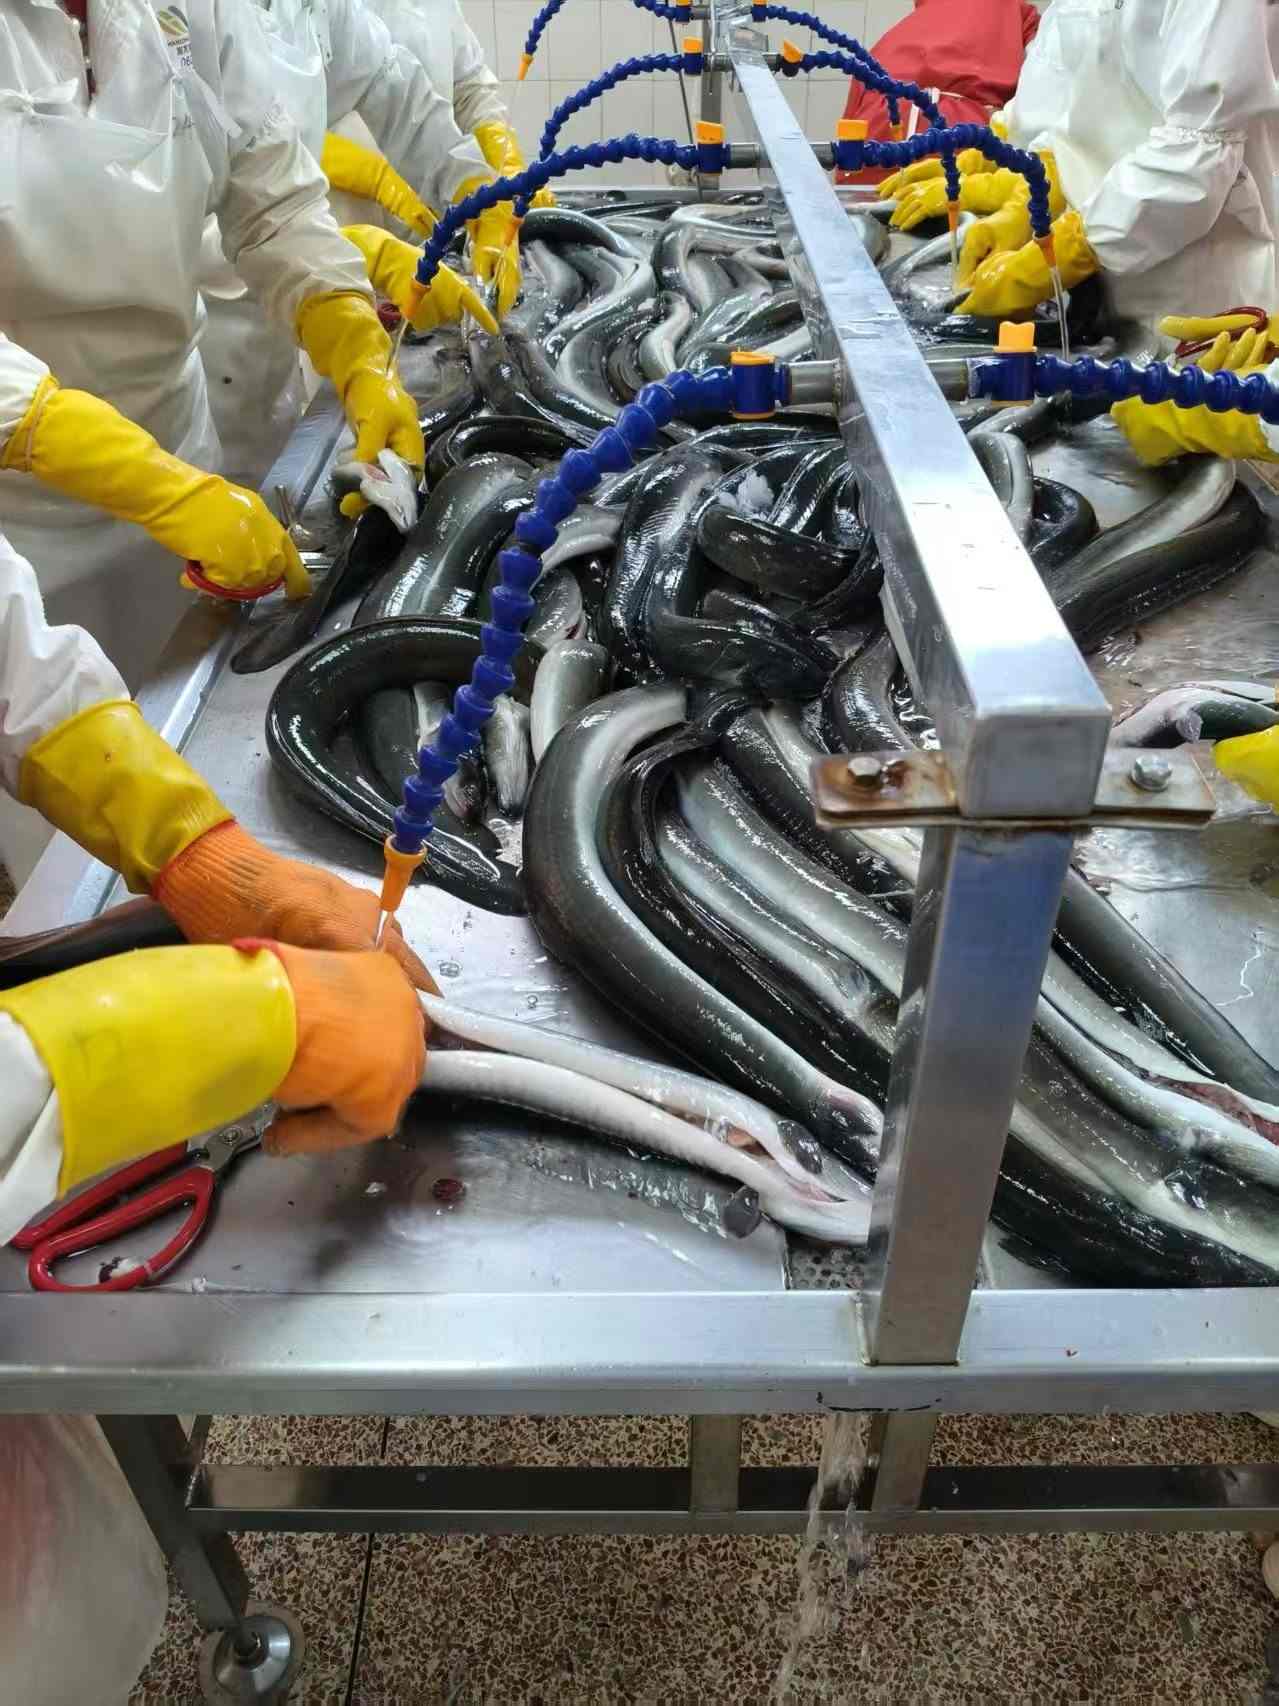
Eels are long, slender fish with a backbone and many small bones that run through the flesh. Biology is covered in general terms in the eels reference, but for service staff the practical point is simpler. A whole split eel is never 100% free of fine bone, and the risk changes with the product format.
Here is a service-stage view. It is our suggested working standard, not a regulatory limit.
| Product format | Where fine bones tend to hide | Suggested service standard |
|---|---|---|
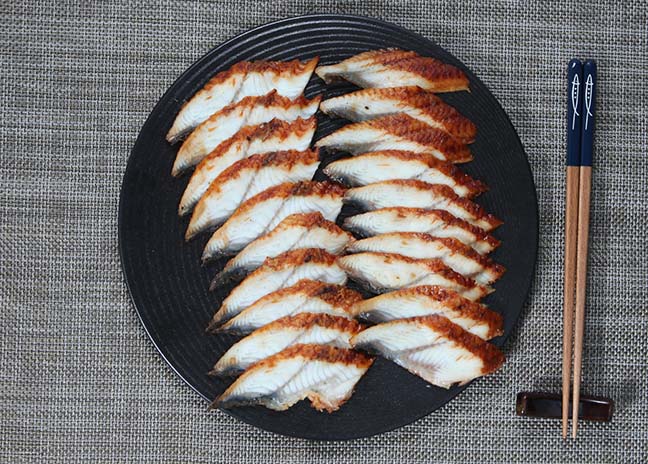
| Split kabayaki fillet (whole) | Along the belly edge, near the head end, and under the glaze at the thick centre | Remove anything you can feel or see before cutting |
| Deboned or boneless fillet | Occasional stray fragments; fewer than whole fillets, but not guaranteed zero | Spot-check by touch; confirm the bone spec with your supplier |
| Cut pieces (chunks, 3-section, strips) | Cut faces, where a bone end can poke out | Check every cut face; pieces with exposed bone go to staff meals or a different dish |
| Sushi slices, shredded, diced | Mixed into the pile, so they are hard to see | Check the fillet before slicing; shredded and diced should be sampled by hand after portioning |
The smaller the final piece, the less forgiving it is. A guest chewing a donburi topping will find a bone faster than someone eating a long strip.
What to set up before you start
You need very little. Missing any of the first three, though, will slow the check or make it unreliable.
- Bright, even light over the pass. Warm yellow bulbs hide the pale bone line against the glaze.
- Clean tweezers or fish-bone pliers, sanitised between trays.
- Disposable gloves, so your fingertips can read the texture without cross-contact.
- A white or light cutting board. Dark boards hide small fragments.
- A labelled discard tray for rejected pieces, so they do not return to the line.
- Your supplier's spec sheet for that SKU: split, deboned, or cut. It tells you what level of bone to expect.
The spec sheet is the one that blocks progress. Without it you cannot tell whether a stray bone is normal or a defect. The rest you can sort out later.
Inspection method for fine bones in cooked or pre-grilled eel fillets
Work in this order. Each pass catches what the previous one misses.
- Thaw and warm as the packaging directs. Do not inspect a half-frozen fillet. Ice crystals mask bone, and a cold fillet is stiff enough that bones stay hidden. Use the ready-to-heat instructions on the pack.
- Visual pass, flesh side up. Tilt the fillet under the light. Look for pale, thin lines that sit proud of the surface or break the glaze. A bone often shows as a faint ridge rather than a clear needle.
- Touch pass with the pad of your thumb. Run it slowly from tail to head, then back, pressing lightly. Fine bones feel like a firm, thread-like resistance inside soft flesh. Stop wherever it catches.
- Edge pass. Pinch the belly edge and the cut ends between thumb and forefinger. These zones hold the most stray fragments in our experience with cut formats.
- Lift and pull. When you find one, grip it at the exposed end with tweezers and pull in the direction it lies, not straight up. Pulling against the grain tears the flesh and snaps the bone.
- Re-check the spot. Press the same area again. If it still feels firm, there may be a second fragment.
- Cut, then check the cut faces. Slicing exposes bones that were buried. Look at each new face before plating.
If you would like the full prep sequence from scratch, our how to cook eel: cleaning / skinning & deboning guide covers raw handling. This page covers the finished, glazed product.
One thing a metal detector cannot do
Our plant runs metal detectors at critical control points, and an in-house laboratory handles testing. Those controls target metal and contaminants. They do not find a fish bone. A bone check at your end is still part of safe service, whichever supplier you use.
Mistakes that let bones reach the guest
- Checking only the top surface. Flip it. Bones sit just as often on the skin side.
- Inspecting under dim light. Glaze reflects and masks thin bones. Use bright, white light.
- Relying on sight alone. Fine bones are often easier to feel than see. Always run the thumb pass.
- Slicing first, checking later. A knife can push a bone into the flesh. Inspect the whole fillet before cutting.
- Treating "boneless" as "zero bones." Deboning removes the main bones, not necessarily every fragment. Spot-check anyway.
- Rushing the thaw. Partly frozen fillets feel firm everywhere, so you cannot tell bone from ice.
Cold fact: cooking softens many fine bones, so a piece can feel fine on the first press and still carry a bone you only notice mid-bite. Softness is not absence. That is why the two-direction thumb pass matters.
Completion check and what to do if a bone slips through
A tray is ready to plate when it passes all four checks:
- No ridges or pale lines visible on either face under bright light.
- Thumb pass in both directions found nothing, or you removed it and re-checked.
- Every cut face looks clean.
- The pieces are in the right format for the dish (small formats checked twice).
If a guest reports a bone, do not argue. Replace the dish, note the lot number and tray, and look at which step you skipped. Most misses trace back to the edge pass or to slicing before checking. If the same SKU keeps producing bones above what the spec sheet describes, send photos and the lot number to your supplier. That is the point where a spec conversation becomes useful.
When the format or sourcing changes the routine
Three variations change how much work you do at the pass:
- Deboned eel for high-volume service. Fewer bones means a lighter check, but not none. A thumb-pass spot-check per case is a sensible floor.
- Custom cuts. We can supply shredding, dicing, strip-cutting, chunk-cutting, 3-section cut and sushi slices. Smaller cuts are easier to portion, but each cut face needs inspection.
- Whole split fillets for premium plates. These give the best presentation and need the most careful check. The thick centre is where you should spend your time.
Sourcing affects this too. Eelpro works from about 20 customs-registered eel farming bases covering over 2,150 mu, with traceability from the unagi eel farm for Eelpro Co., Ltd through to shipment, and a patented low-fat roasting process with a 4-layer soy-sauce coating. We have supplied kabayaki to Japanese restaurant chains and eel products to importers in Germany, Poland, Australia and the United States. None of that removes the need for a service-stage check, but it does mean a bone issue can be traced back to a specific lot. If you are comparing a frozen eel supplier, ask each one how it handles bone checks and what its spec sheet states.
Already have the product in your kitchen? Our how to cook eel: easy methods and tips guide shows what to do next.
If you want to test this routine on your own menu, ask us for a sample of our unagi kabayaki product along with the cut spec sheet, and tell us your format and volume so we can match it.