

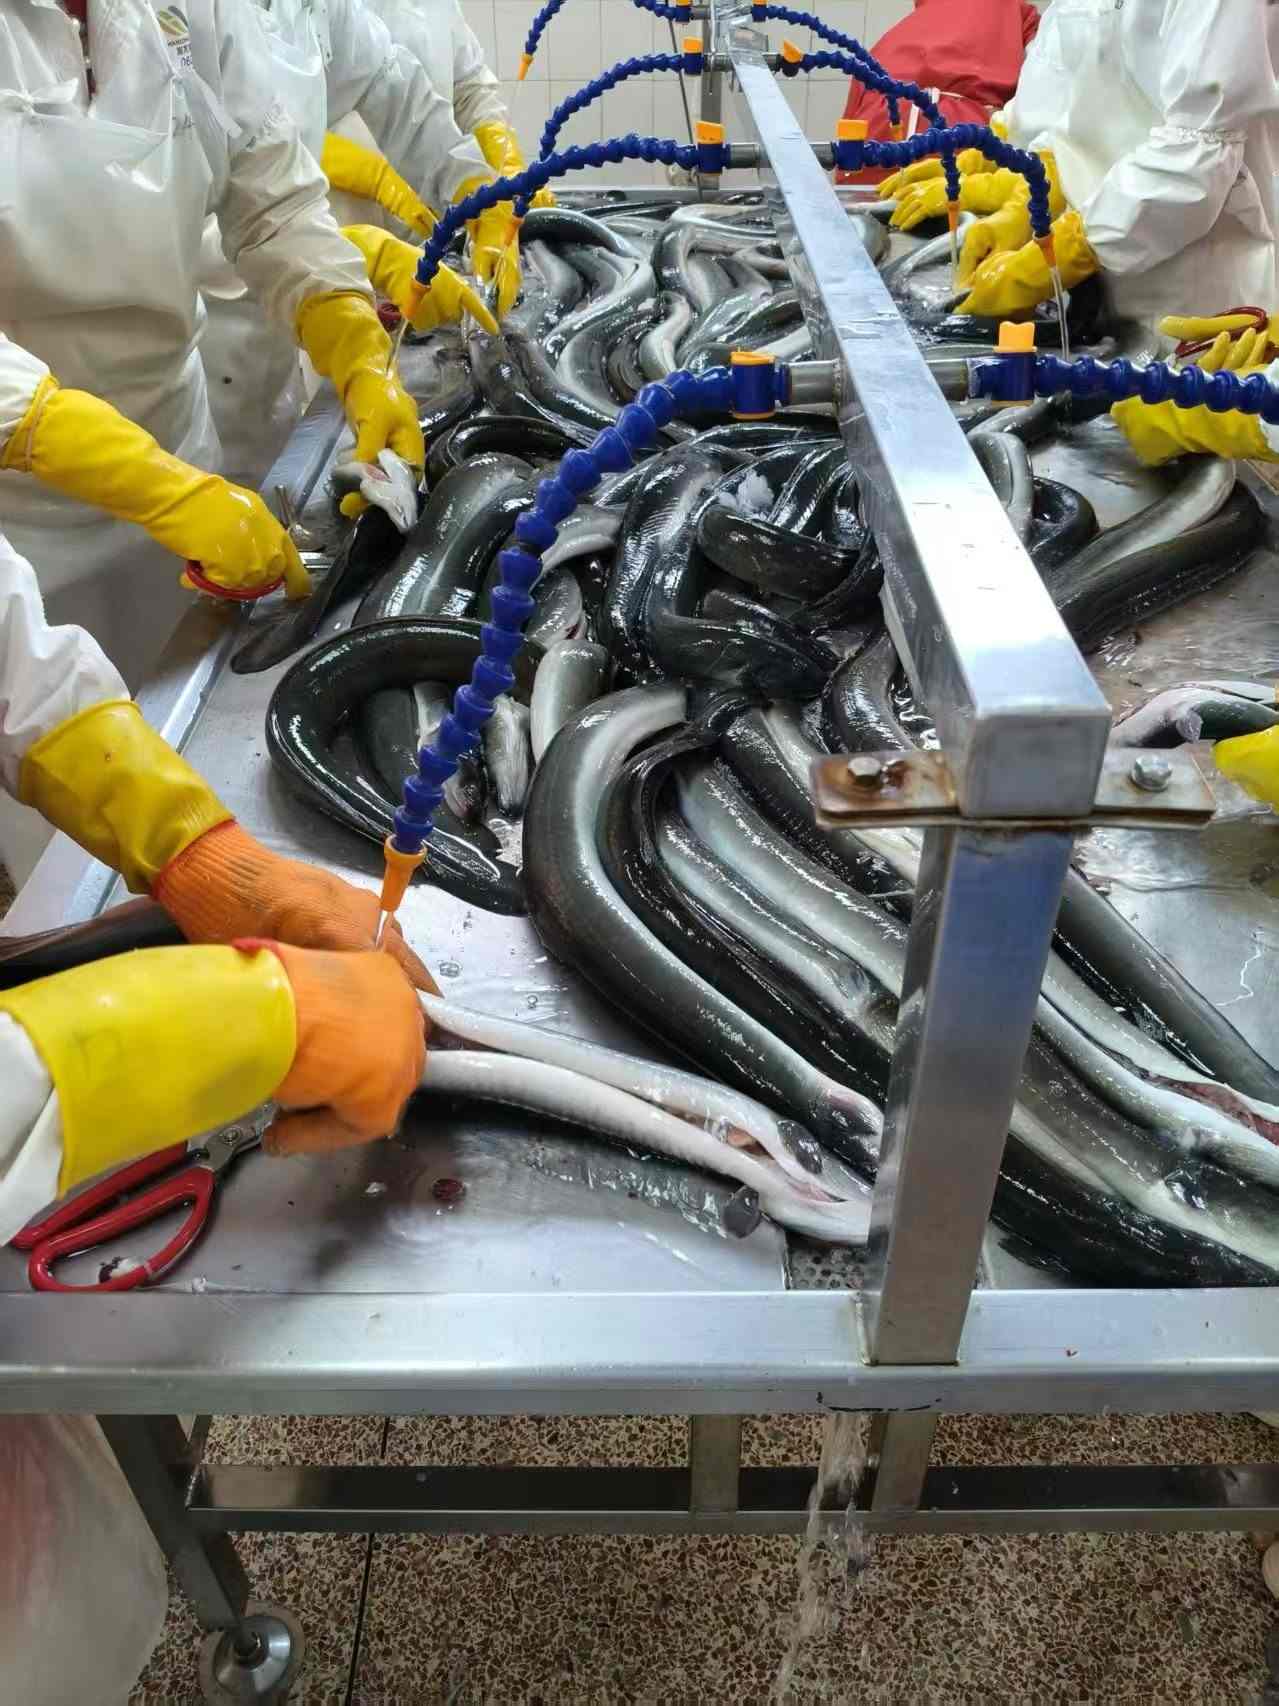
How to Bake Eel Without Drying It Out
Why does baked eel come out of the oven rubbery, even when the fillet looked perfect going in? This is the question most home cooks hit right after their first attempt. Eel is a lean, low-fat fish once it's filleted and cleaned, and lean fish loses moisture fast under dry heat. The fix isn't a fancy technique — it's about controlling three things: pan liquid, coverage, and rest time. Get those right and your baked eel stays glossy, tender, and holds its glaze instead of turning into fish jerky.
This guide walks through the exact steps, the checkpoints that matter, and the mistakes that ruin texture before you even open the oven door.
Why Lean Eel Dries Out Faster Than You Think
Freshwater eel used for kabayaki-style baking has very little intramuscular fat compared to something like salmon or mackerel. Fat acts as a buffer against heat — it melts slowly and keeps muscle fibers lubricated. Eel doesn't have that buffer built in, which means the surface proteins tighten and squeeze out moisture almost as soon as the oven crosses 200°C (390°F).
Add a sticky soy-based glaze on top, and you get a second problem: the sugar in the sauce caramelizes and can scorch before the inside is even cooked through. That's why professional processors control roasting in layered steps rather than one long bake — a method covered in more detail in this piece on kabayaki sauce technique.
The Core Fix — Moisture-Preserving Liquid, Covered Baking, and Rest Time
This is the part that actually solves the dryness problem, so treat it as the checklist for every bake.
1. Keep a moisture-preserving liquid in the pan
Conclusion: Always add a thin layer of liquid — sake, water, or diluted eel sauce — to the bottom of the baking dish before the fillet goes in.
Why it works: The liquid creates steam inside the covered space, which slows surface moisture loss. It also stops the glaze from burning directly against hot metal or glass.
When to use it: Every time you're baking pre-cooked or raw eel fillets at 180–200°C. Use about 2–3 tablespoons of liquid per fillet, not a full soak — you want steam, not braising.
Limit: Too much liquid will stew the fish rather than roast it, softening the skin instead of giving it the lacquered kabayaki finish.
2. Bake covered for the first stage
Conclusion: Cover the pan with foil for roughly 60–70% of the total bake time, then uncover to finish.
Why it works: Covering traps the steam generated by the pan liquid, so the fillet cooks gently instead of getting blasted by direct dry heat. Removing the foil for the last few minutes lets the glaze set and caramelize without drying the flesh underneath, since it's already mostly cooked.
Scenario: For a fillet around 150–200g, cover for about 8 minutes at 190°C, then uncover for 2–3 minutes to finish the glaze.
Limit: Skip this staging for very thin cut pieces or sushi slices — they cook fast enough that covering isn't necessary and can actually oversteam them.
3. Rest before serving
Conclusion: Let the eel rest for 3–5 minutes off heat before cutting or plating.
Why it works: Resting allows juices pushed to the surface during baking to redistribute back through the flesh. Cut too early, and that moisture just runs onto the cutting board instead of staying in the fish.
When it doesn't apply: Skip resting only if you're serving over hot rice immediately — the residual heat and rice steam achieve a similar redistribution effect on donburi-style dishes.
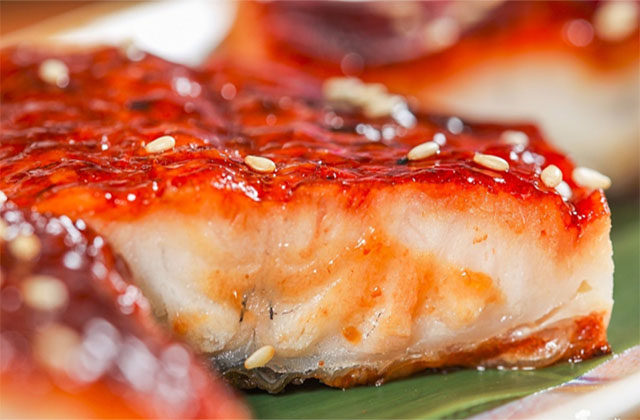
Step-by-Step Oven Procedure
- Preheat oven to 190°C (375°F). Don't skip preheating — a cold-start oven adds 5-6 minutes of uneven low heat that dries the edges before the center catches up.
- Pat the eel fillet dry, then brush lightly with sauce — not soak it. Heavy sauce coats burn before the fish finishes.
- Add 2–3 tablespoons of moisture-preserving liquid to the pan.
- Cover tightly with foil. Bake 8 minutes for a standard 150–200g fillet.
- Uncover, brush a second thin layer of sauce, and bake uncovered 2–3 minutes until the surface is glossy and slightly caramelized.
- Remove from oven. Rest 3–5 minutes.
- Slice and serve, or plate over hot rice.
Common Mistakes That Wreck Texture
- Baking uncovered the whole time — the number one cause of dry, stringy eel. No steam buffer means constant moisture loss.
- Over-sauced glaze — thick sugar coatings burn at the edges long before the center of the fillet is done, giving you burnt-sweet spots next to underdone flesh.
- Cutting immediately after baking — releases juices onto the board instead of the fish.
- Oven temperature too high — anything above 220°C tightens the lean muscle fibers too fast; you lose the tender kabayaki texture.
- Using thawed-but-not-dried fillets — surface water dilutes the glaze and prevents proper caramelization.
Choosing Eel That Bakes Well — A Buyer's Checklist
Not all eel holds up the same way in the oven. If you're buying frozen kabayaki or raw fillets, check these points before you commit:
| Checkpoint | What to Look For | Why It Matters |
|---|---|---|
| Fat distribution | Even marbling, not just skin-side fat | Even fat helps buffer heat during baking |
| Pre-roasting method | Multi-layer soy sauce coating, temperature-controlled steps | Layered roasting locks in moisture before freezing |
| Packaging | Vacuum-sealed, minimal ice crystals | Less freezer burn means less moisture loss before you even bake it |
| Source traceability | Traceable farming base, quality certification | Consistent raw material means consistent bake results |
Products processed with a controlled 4-layer soy-sauce coating and low-fat roasting method — like the frozen unagi kabayaki line — are pre-roasted under a set 'white-roasted color' and coating-color standard before freezing. That means much of the moisture-locking work is already done before the fillet reaches your oven, which is one reason pre-cooked kabayaki is more forgiving for home baking than raw fillets.
Matching Sauce to the Bake
The glaze you brush on matters as much as your oven settings. A thin, well-balanced eel sauce caramelizes evenly without pooling sugar in one spot. If your homemade tare is too thick, dilute it slightly with a splash of the pan liquid before the final glaze layer — this helps it spread evenly and prevents scorched patches. For readers building their own sauce from scratch, this breakdown on eel sauce make-ahead and storage tips covers batching and shelf life.
One cold-fact worth remembering: real kabayaki tare traditionally reuses the base sauce over many batches, which is part of why restaurant versions taste deeper than a fresh one-off mix. Home cooks rarely replicate that, but a good bottled tare gets close without the multi-year aging process.
When Baking Isn't the Right Method
Baking suits pre-cooked kabayaki and skin-on fillets well, but it isn't always the best call. Thin sushi slices dry out almost instantly in an oven — they're better served cold or lightly torched. Whole gutted eel with bone-in cuts benefits more from grilling over direct heat, where fat renders and drips away rather than pooling in a pan. If you're working with raw eel that still needs cleaning, it helps to get the prep right first — see this guide on cleaning, skinning, and deboning eel before you even think about the oven.
For food safety, note that eel destined for markets like Japan, the US, or the EU is typically checked against strict veterinary drug residue and microbiological standards — a good sign of quality even for home cooking, since compliant products tend to come from more controlled farming and processing conditions.
Curious how the sauce itself is made at scale, or want to compare frozen kabayaki formats before your next order? Reach out for a product spec sheet or sample request, and we're glad to walk through which cut and packaging fits your kitchen.