





You pull a fresh, slippery eel from the bag. It still holds a faint, muscular tension. Your knife hesitates. Most home cooks bail at exactly this moment. I’ve been there. But once you learn the rhythm—salt scrub, a quick hot dip, one confident cut—it changes everything. And if you’d rather skip straight to the sizzling pan, we’ll get to that.
This is not another generic “grill it with sauce” article. Before you ever think about tare or a hot grill, you need to face the beast on the cutting board. Proper eel cooking preparation determines whether your dish tastes clean and delicate or muddy and tough. I’ve seen talented chefs ruin a $40 eel because they rushed through the first 10 minutes. Let’s fix that.
Eel flesh is rich, fatty, and layered with microscopic bones. Heat alone can’t fix a poorly prepped fillet. If you don’t remove the outer slime, the skin turns bitter and rubbery. If you leave the lateral bones intact, every bite becomes a dental hazard. A rushed how to cook eel journey often starts with a sizzle and ends in the trash.
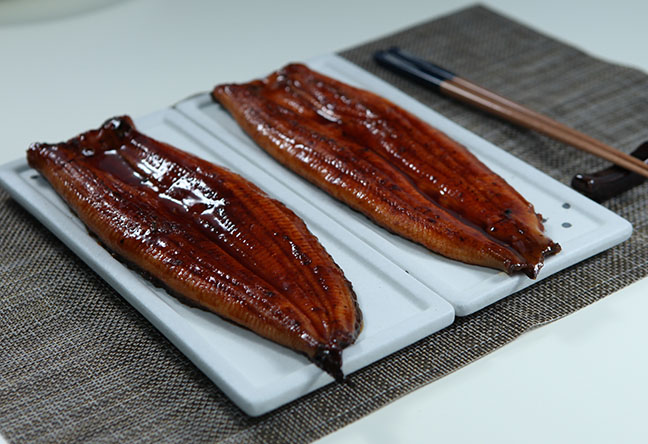
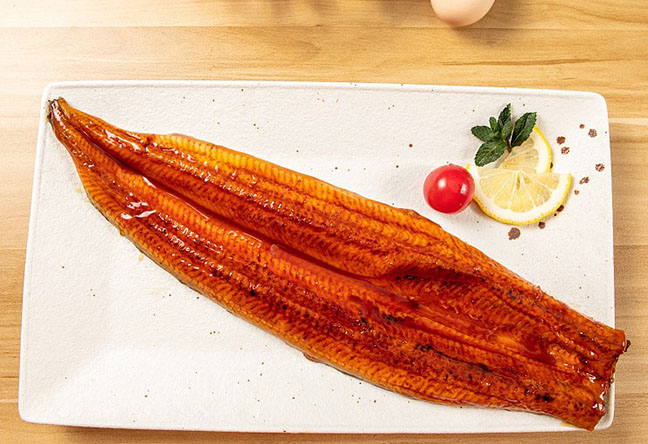
Think of freshwater eel like a delicate white fish wearing a thick leather jacket. Strip away the jacket correctly, and the flesh underneath responds beautifully to high heat. The Japanese unagi masters have perfected this over centuries. In high-volume unagi restaurants, the prep area—not the grill—is where the head chef stations himself. That tells you everything. If you want a shortcut, though, our unagi kabayaki lands frozen, pre-grilled, and already basted. No slippery wrestling required.
You have a live or freshly gutted eel. Your goal: remove the mucus layer completely. This slime protects the eel in the wild, but it coagulates under heat and gives off a distinctly muddy smell. Don’t rinse alone. Eel slime is protein-based and water just makes it slipperier.

Here’s the step-by-step for how to clean eel before cooking:
Place the whole eel in a large bowl. Sprinkle a heavy handful of coarse salt—roughly 3 tablespoons per 500g eel.
Massage the salt into the skin forcefully for at least 3 minutes. You’ll see the clear slime transform into a milky, foamy white paste. That’s the protein denaturing. Keep going until the skin feels slightly tacky, not slippery.
Rinse under cold running water while scrubbing gently with a clean scouring pad or the back of a knife. The skin should now feel matte and slightly rough.
Pat completely dry with paper towels. Moisture is the enemy of a good sear later.
If you’ve ever wondered how do you clean eel before cooking without spreading mucus everywhere, do this inside a large basin rather than a running tap. Less chaos. Also, freeze the eel for 30 minutes if it’s fresh-killed. A slightly stiff eel is far easier to grip.
Now comes a step most English-language recipes skip: blanching. Eel skin is thick and full of flavor, but if you throw it straight into a pan, it curls violently and becomes chewy leather. Japanese kitchens solve this with a quick hot-water shock.
Bring a pot of water to 85–90°C (185–194°F)—just below a simmer. Dip the whole cleaned eel in for 10 to 15 seconds. You’ll see the skin color shift from greyish to white or pale pink. Immediately transfer to an ice bath. This sets the skin and loosens any remaining tiny scales. Use the back of a knife to scrape the skin lightly. A thin, dark film should peel off.
This technique is the heart of how to prepare eel for grilling. The skin now stays flat, renders slowly, and crisps up instead of toughening. If you’re using a blowtorch later for unagi, this step is non-negotiable.
Skipping the blanch might save two minutes, but I promise the bite texture will be closer to a bicycle tire than a silky, fat-laced fillet.
Eel filleting looks intimidating, but the bone structure is predictable. Eels have one central spine, a row of pin bones running laterally, and no rib cage like a round fish. This makes removing bones fairly straightforward once you understand the layout.

Here’s how to cut and debone eel safely:
Place the blanched, dried eel flat on a cutting board. Insert a sharp, thin fillet knife just behind the head, perpendicular to the spine.
Slice down to the backbone, then pivot the knife horizontally. Run the blade along the spine from head to tail in one smooth motion. Keep the knife flat against the bones.
Flip the eel and repeat on the other side. You now have two fillets and a central skeleton.
Lay each fillet skin-side down. Locate the line of lateral pin bones that run down the midline. Run your finger along them. They feel like a soft comb. Use fish-bone tweezers or needle-nose pliers to pull them out at a 45-degree angle in the direction they point.
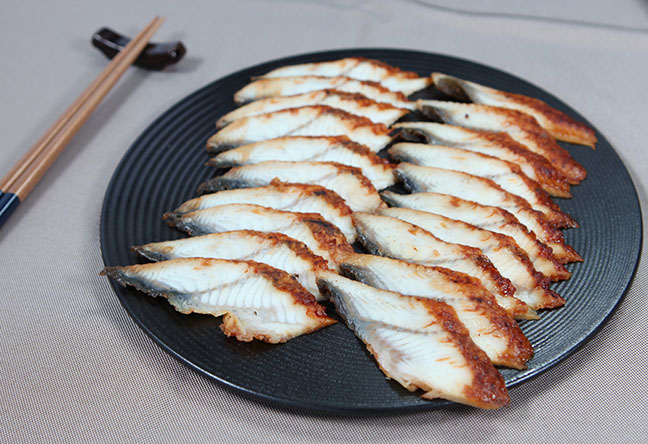
For unagi kabayaki-style cooking, cut each fillet crosswise into 8–10 cm (3–4 inch) pieces. This mimics the classic rectangular blocks and helps even caramelization.
If you’re a foodservice buyer processing dozens of eels, consider a standard stainless-steel deboning table. For home cooks, a damp tea towel under the cutting board prevents dangerous sliding. And what is the safest way to prepare eel when your hands are slick? Wear cut-resistant gloves. Eel skin is notoriously stabby when wet, and the knife needs to be extremely sharp. Dull blades cause more accidents.
Once your fillets are clean, the canvas is ready. Rich, fatty eel meat acts like a sponge for umami. This is where traditional eel sauce (unagi tare) becomes your best friend. The sweet soy reduction seeps into the gaps left by the pin bones, creating layers of flavor as you baste and grill.
But you don’t need to start from zero. I’ve seen chefs poach pre-cleaned fillets in a mixture of sake, mirin, and a dash of our unagi tare for a quick donburi bowl. The thick sauce coats the irregular surface perfectly. You can even mix a spoonful into a steaming bowl of eel noodle soup to lift the broth instantly.
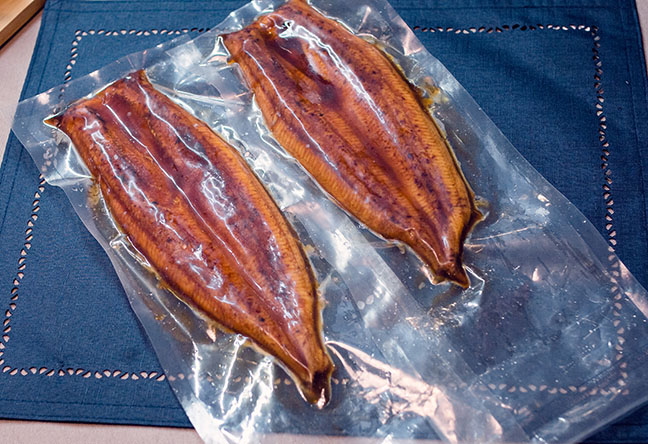
If you’re reading this as a business buyer, consistent preparation is your bottleneck. Fresh eel prep takes skilled labor. That’s why many ramen chains and sushi suppliers rely on our fully prepared unagi kabayaki. It arrives frozen, perfectly cleaned, deboned, and pre-grilled with the sauce already set. You thaw, torch, and serve. Same dramatic caramelization, zero prep time.
Slimy, even after salting? You didn’t use enough salt. The chemical reaction needs a heavy hand. Use coarse sea salt, not fine table salt. Repeat the scrubbing process if needed.
Skin tearing during filleting? Your knife is too thick or the eel wasn’t blanched. The hot water firms the skin and makes it less fragile. Also, try a slicing motion rather than pressing down.
Bones snapping instead of pulling cleanly? The eel may need to relax. After blanching, if the pin bones resist, let the fillet rest at room temperature for 10 minutes. The flesh softens and releases the bones more easily. And always pull in the natural direction, towards the tail.
Cover the eel with coarse salt and massage until the slime turns into a white foam. Rinse thoroughly and pat dry. For stubborn slime, a quick dip in 85°C water followed by scraping removes all residue.
Make a vertical cut behind the head, then run a thin fillet knife along the spine to separate the fillet. Repeat on the other side. Use fish tweezers to remove the lateral pin bones from each fillet, pulling at an angle towards the tail.
Always work on a stable, non-slip surface. Wear cut-resistant gloves to grip the slippery skin. Keep your knife razor-sharp and use a damp towel under the board. Freezing the eel lightly before handling also improves safety and control.
I’m a big advocate for DIY kitchen projects, but eel is a special case. The prep demands precision, and the margin for error is high. One missed pin bone and a customer’s experience is ruined. One degree too hot on the blanch and the skin splits.
If you’re cooking for pleasure on a weekend, the process above is deeply satisfying. There’s something primal about mastering a difficult ingredient. But if you’re supplying a kitchen, a pop-up, or just want a flawless unagi don on a Tuesday night, the math changes. Sourcing a pre-finished product that reflects proper preparation means you get all the texture, all the flavor, and none of the wrestling.
We built Eelpro’s unagi kabayaki line on exactly that idea. Our freshwater eels are cleaned, deboned, and grilled by hands that do this thousands of times a year. The sauce—a secret kabayaki blend you can read about here—is layered on in multiple stages, just like a street-side unagi shop in Tokyo.
Whether you’re gripping a fillet knife or grabbing a frozen pack from the freezer, the goal is the same: hot, tender, caramelized eel that tastes clean and rich. The prep is just the path. Choose yours.
Got your own eel prep trick or a kitchen disaster story? Drop a comment below. I read every single one. And if you’re looking to stock your freezer with ready-to-grill eel, browse our full selection of frozen freshwater eel and seafood.
[xss_clean] { "@context": "https://schema.org", "@type": "FAQPage", "mainEntity": [ { "@type": "Question", "name": "How do you clean eel before cooking?", "acceptedAnswer": { "@type": "Answer", "text": "Cover the eel with coarse salt and massage until the slime turns into a white foam. Rinse thoroughly, pat dry, and optionally dip in 85°C water to remove all residue." } }, { "@type": "Question", "name": "How do you cut and debone eel?", "acceptedAnswer": { "@type": "Answer", "text": "Make a cut behind the head, run a fillet knife along the spine to separate the fillet, then use fish tweezers to remove lateral pin bones. Cut into portions for cooking." } }, { "@type": "Question", "name": "What is the safest way to prepare eel?", "acceptedAnswer": { "@type": "Answer", "text": "Use a non-slip surface, wear cut-resistant gloves, keep your knife sharp, and lightly freeze the eel for better grip and stability." } } ] } [xss_clean]

 WhatsApp
 sales@chinaeels.com
 +8619937922411