

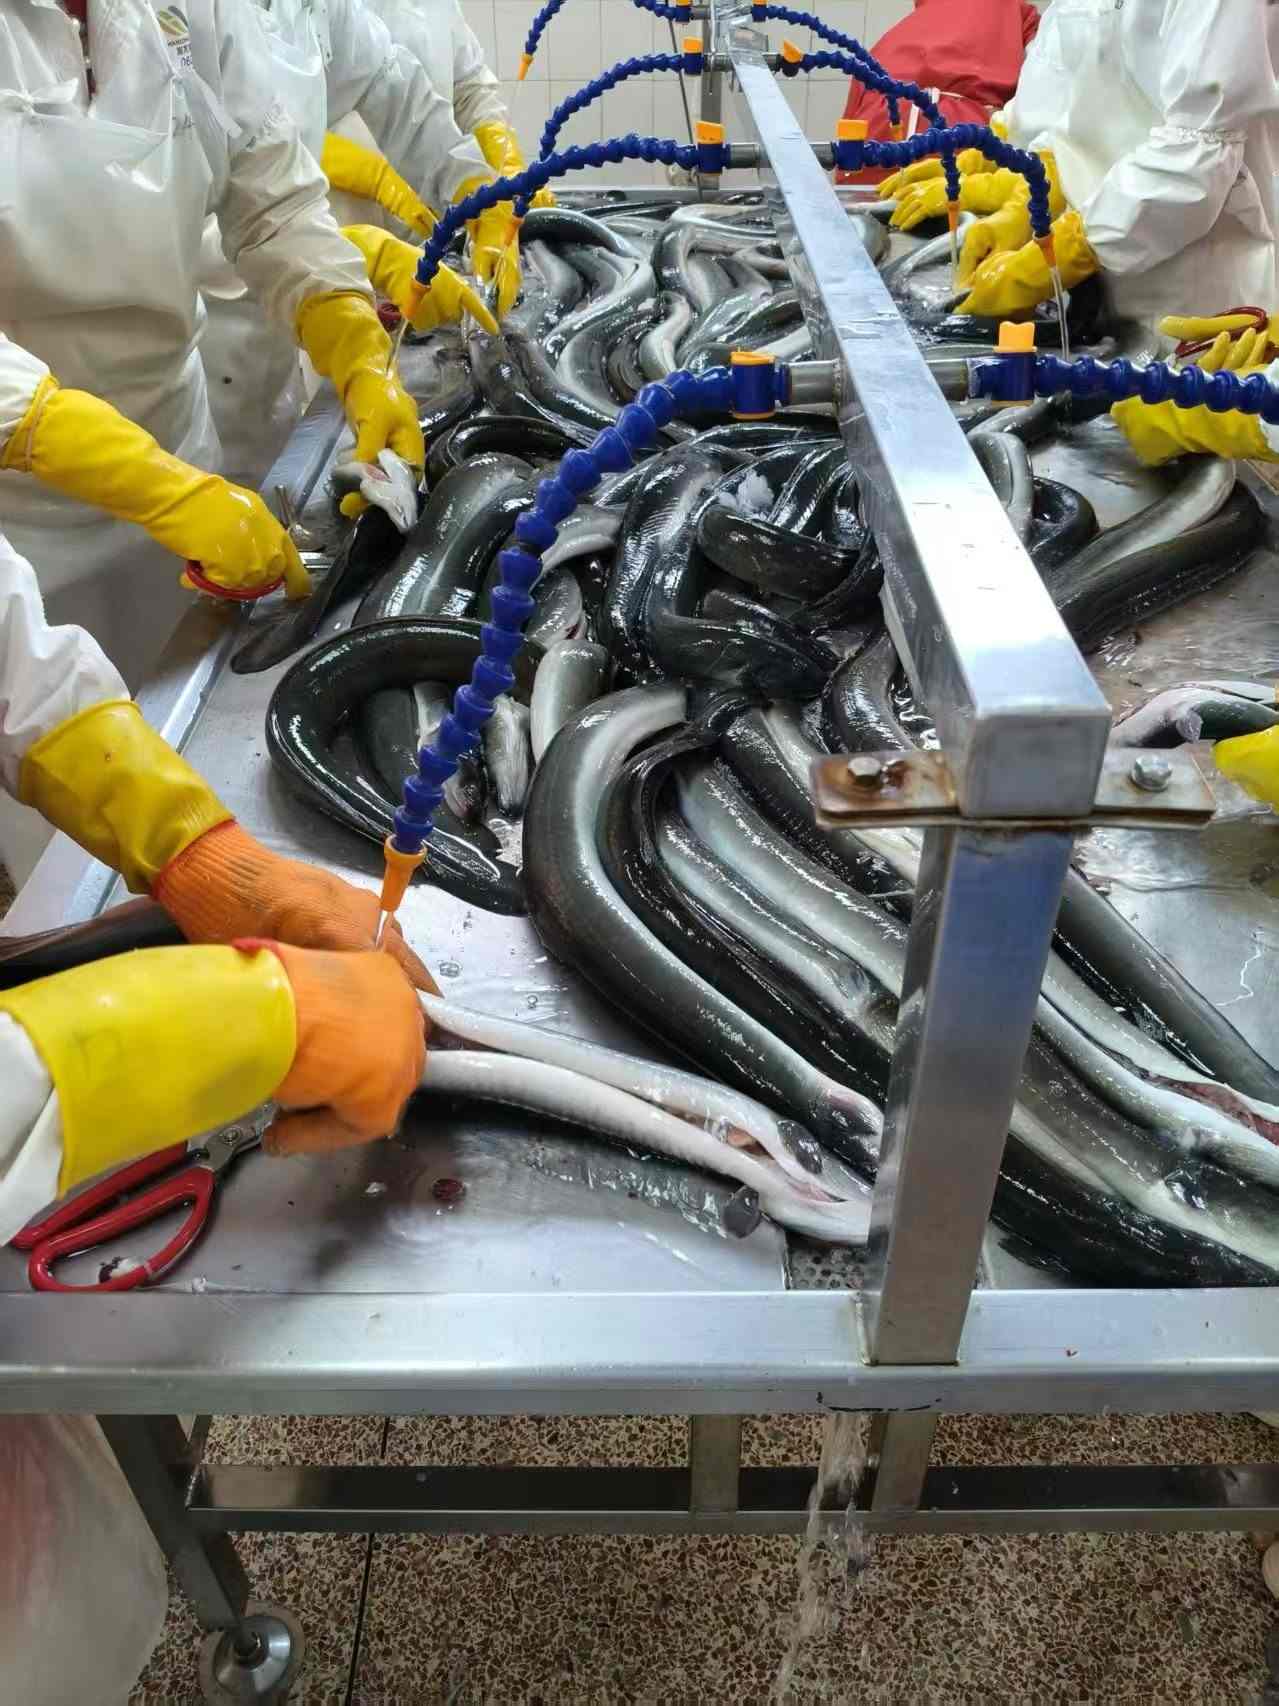
How to Make Eels Soup Without a Muddy Broth
Ever simmered eels soup for an hour only to get a broth that tastes like pond water? You're not alone. That muddy flavor comes from a compound trapped in the eel's skin and fat, not from bad eel. The fix takes three kitchen steps and no fancy tools. This guide walks through soaking, blanching, and aromatics so your eels soup ends up clean, rich, and unmistakably eel — not swampy.
Why Freshwater Eel Broth Turns Muddy
Freshwater eel lives in mud-bottom ponds and slow rivers. Over time, its skin and fatty layers absorb geosmin, the same earthy-smelling compound found in beets and wet soil after rain. Geosmin is fat-soluble and heat-stable. A quick rinse under the tap does almost nothing to it. The compound only clears once you break down the surface mucus and render the fat layer before the eel goes into your pot.
This is why a whole eel bought live at a wet market can taste muddier than a properly processed frozen fillet — longer pond exposure, and no skin treatment yet. Farm-raised eel from clean, monitored systems, already de-skinned or blanched at the processing stage, starts several steps ahead of anything pulled straight from a tank.
The Three-Step Fix: Soaking, Blanching, and Aromatics
None of these steps work alone. Skip one and the muddy note tends to sneak back in, even if the other two were done correctly.
Step 1 — Soak to Lift the Mucus
Submerge eel pieces in cold water with 1 tablespoon salt and 1 tablespoon rice vinegar per liter, for 15 to 20 minutes. The acid and salt pull mucus off the skin surface.
- Checkpoint: the soaking water should turn visibly cloudy or gray — that's mucus releasing.
- Common failure: soaking under 5 minutes, or using plain water with no salt or acid. Neither touches the fat-bound geosmin, only surface grime.
Step 2 — Blanch to Render Surface Fat
Bring water to a boil with a few slices of ginger and a scallion knot. Blanch the soaked eel for 60 to 90 seconds, then transfer straight into cold water.
- Checkpoint: skin should turn opaque gray-white, not fully cooked through — you're rendering fat, not finishing the dish.
- Common failure: blanching too long dries out the flesh and makes it rubbery; skipping the cold-water rinse afterward lets the scum re-settle onto the skin instead of washing away.
Step 3 — Build Aromatics That Don't Mask the Eel
Add fresh ginger, scallion whites, white pepper, and a splash of rice wine to the simmering broth. Avoid heavy five-spice or curry blends — they don't remove muddy flavor, they just bury it, and you lose the eel taste along with it.
- Checkpoint: keep the broth at a gentle simmer, around 90–95°C, never a rolling boil, for 20 to 25 minutes. This lets collagen release slowly without breaking up the flesh or emulsifying fat into the liquid.
- Common failure: boiling hard emulsifies fat into the broth, turning it cloudy and greasy — which reads as "muddy" again even if your soaking and blanching were flawless.
| Step | Time | Key Checkpoint | Common Mistake |
|---|---|---|---|
| Soak | 15–20 min | Water turns cloudy/gray | Under 5 min, no salt/acid |
| Blanch | 60–90 sec | Skin turns opaque gray-white | Over-blanching, no cold rinse |
| Simmer | 20–25 min | Gentle simmer at 90–95°C | Rolling boil emulsifies fat |
Choosing the Right Eel Format for Clean-Tasting Soup
Not every eel format needs all three steps. Picking the right starting point saves time and reduces the risk of muddy flavor sneaking through.
| Eel Format | Muddy-Flavor Risk | Prep Needed | Best For |
|---|---|---|---|
| Live/whole freshwater eel | High — full skin, mucus, pond exposure | Full cleaning, skinning, soak, blanch | Cooks who want full control and have 40+ minutes prep time |
| Frozen raw eel fillet (skin-on, pre-cleaned) | Medium — skin treated, some residual fat | Soak + blanch only | Home cooks who want a shortcut without losing texture |
| Frozen roasted unagi kabayaki (pre-cooked, soy-glazed) | Low — already roasted and glazed | Reheat and slice, or add near end of simmer | Fast weeknight soup, but reduce added salt since the glaze is already seasoned |
A processed, pre-cleaned frozen fillet from a frozen eel supplier that runs its own de-skinning and blanching line typically means less muddy risk walking in the door, since much of Step 1 and Step 2 has already happened at the plant before it reaches your freezer.
Common Mistakes That Bring the Muddy Taste Back
- Reusing blanching water in the final broth — it's full of the mucus and fat you just removed.
- Adding vinegar or citrus too late. Acid works during the soak, not the simmer; adding it at the end just makes the broth sour without fixing flavor.
- Over-salting early. Salt added before blanching toughens the eel and can trap geosmin inside the flesh instead of releasing it.
- Sealing the pot lid tightly during simmering, which lets condensation drip fat back into the broth.
- Skipping skin scoring on thicker cuts, so blanching heat never fully reaches the fat pockets under the skin.
A Simple Eels Soup Recipe — Worked Example
This uses one medium eel (about 400g), split into 3-inch sections after the cleaning steps above. For a full breakdown of removing the spine and skin first, see our guide on cleaning, skinning and deboning.
- Soak cleaned eel sections in salted vinegar water, 15–20 minutes.
- Blanch 60–90 seconds in boiling water with ginger and scallion, then rinse in cold water.
- Heat 1 tbsp oil in a pot, sear eel sections 2 minutes per side until lightly golden.
- Add 1 liter water or light stock, 3 ginger slices, 1 scallion (whole), 1 tbsp rice wine.
- Bring to a boil, then drop to a gentle simmer (90–95°C) for 20–25 minutes.
- Season with white pepper and salt to taste in the last 5 minutes. Skim any surface foam before serving.
If you'd rather turn this into a noodle-based meal instead of a clear soup, the same base broth works well in our eel noodle soup method — just add cooked noodles in the final 3 minutes so they don't overcook.

Checklist Before You Start Cooking
- Is the eel fresh-smelling, not sharply fishy or ammonia-like? If not, skip it regardless of how well you plan to soak and blanch.
- Do you have at least 45 minutes free, or would a pre-cleaned frozen fillet fit your schedule better?
- Are you using acid (vinegar) in the soak stage, not the simmer stage?
- Is your simmer set to a gentle bubble, not a rolling boil?
- Have you planned aromatics that support the eel flavor rather than cover it — ginger and scallion, not heavy spice blends?
For readers curious how the same 4-layer soy-glazing process affects flavor in roasted eel dishes rather than soup, our article on kabayaki sauce covers that in more detail, and our eel sauce page has notes on pairing sauce sweetness with broth-based dishes.
Got a soup mishap or a trick that worked for you? Share it in the comments — and if you're sourcing eel for a restaurant menu or catering line, we're happy to advise on which cut and format fits your kitchen's prep time.