

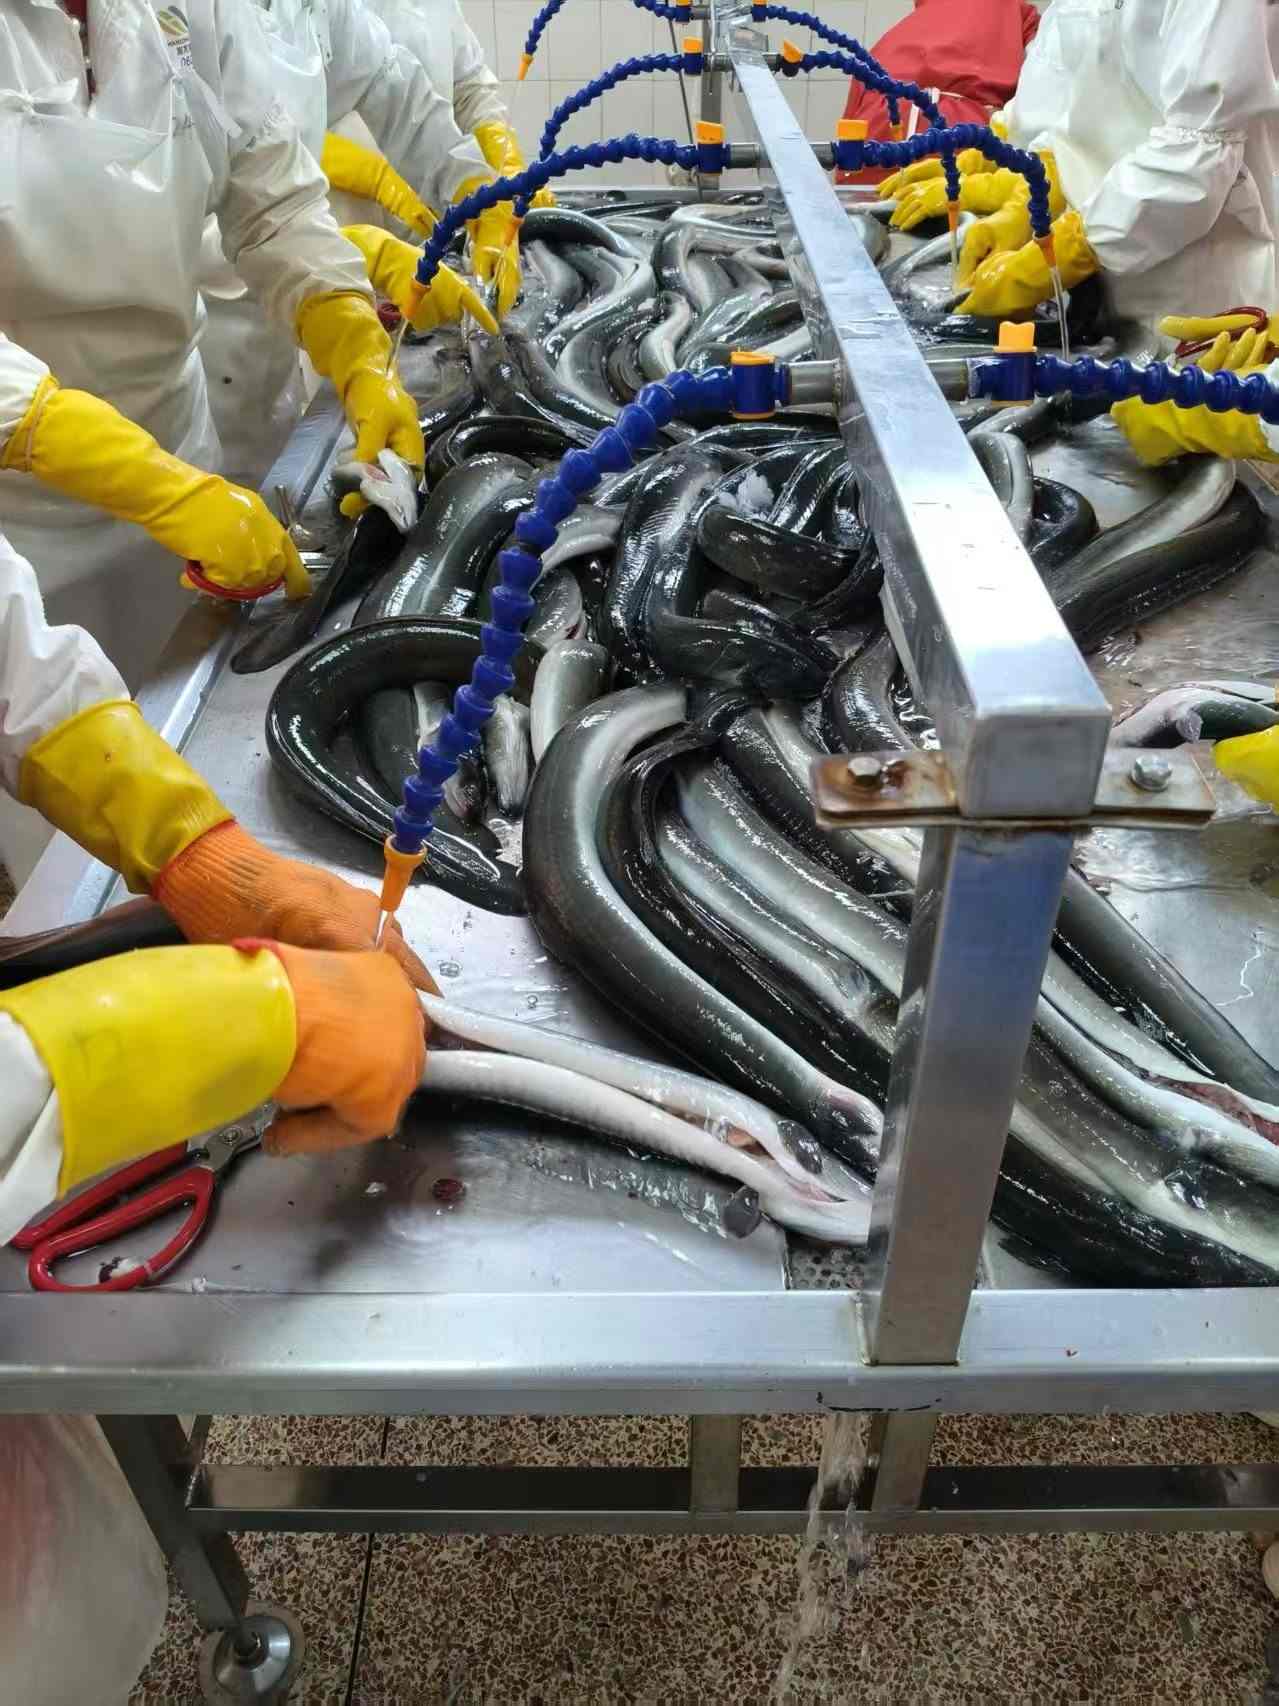
This broiled eel recipe keeps fillets moist under high heat
Your eel looked glossy when it entered the broiler, then came out dry at the edges and strangely firm in the center. That disappointment is common with frozen or vacuum-packed fillets. A reliable broiled eel recipe is not only about sauce. It starts with controlling where heat hits the fish and how much moisture remains beneath the surface.
Broiled eel has a narrow margin between caramelized and dry. High heat can quickly tighten the flesh, darken a sweet glaze, and pull moisture from thinner sections. The answer is not to drown the fillet in extra sauce. The better answer is to diagnose the cause in the right order: product condition, tray position, skin direction, surface moisture, and glaze timing.
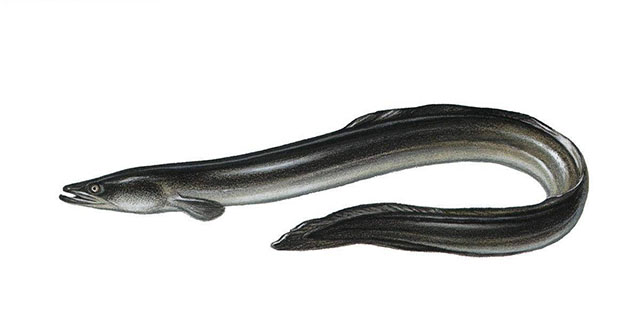
This broiled eel recipe is designed for cooks, restaurant teams, and buyers working with frozen unagi kabayaki or vacuum-packed eel fillets before final menu service. It is especially useful when the eel is already roasted and sauced, because it needs reheating and finishing rather than aggressive cooking from raw.
Check the eel before blaming the broiler
The first decision is simple: determine whether the dryness began before the eel reached high heat. A broiled eel recipe cannot restore moisture that was lost through poor thawing, uncovered holding, or repeated heating. Start with the package condition and the fillet surface.
Frozen unagi kabayaki should look protected by its packaging, with no obvious damage that leaves the flesh exposed. After opening, inspect the fillet before adding any extra glaze. A glossy surface, flexible flesh, and intact skin suggest that the product is ready for gentle finishing. A dull, leathery surface or separated flesh points to moisture loss that may have occurred earlier.
- Choose gentle reheating first when the fillet is chilled, vacuum-packed, or frozen. The reason is that the inside needs to warm before the sauce receives direct broiler heat. This fits prepared kabayaki. It does not apply in the same way to raw freshwater eel, which requires a different preparation method.
- Keep the skin intact whenever possible. Skin helps protect the flesh from direct radiant heat. This suits whole fillets and larger cuts. It is less effective for thin strips, diced eel, or sushi slices because their exposed cut surfaces are greater.
- Do not leave opened fillets uncovered while preparing rice, vegetables, or garnishes. Air exposure dries the surface before broiling begins. This matters most in busy service periods. It is less of a concern when the eel is returned immediately to its sealed packaging or covered holding container.
For product selection, use a fillet intended for final heating rather than treating every eel product the same way. Eelpro supplies unagi kabayaki for buyers seeking a prepared roasted eel format. This matters because the finishing goal is a warm, tender center with a lacquered surface, not a long roasting cycle.
A practical broiled eel recipe starts with a realistic expectation: high heat should finish the surface, not compensate for a cold, dry, or badly handled fillet.
Diagnose dryness in the right order before changing the method
When a broiled eel recipe fails, cooks often change several things at once: more sauce, more heat, a different tray, and a longer broil. That makes the real cause harder to identify. Use the following order. Check the first symptom before moving to the next one.
| What to check first | Visible symptom | What the symptom usually points to | Immediate correction | Limit of the correction |
|---|---|---|---|---|
| Package and thawed surface | Dull, dry, or leathery flesh before broiling | Moisture was likely lost before finishing | Use covered gentle warming before direct heat | It cannot fully repair an already dried fillet |
| Tray position | Top darkens while the center stays cool | The eel is too close to the heating source | Move the tray farther from direct heat | Very thick portions may still need a covered warming stage |
| Skin orientation | Flesh side shrinks or splits | Lean exposed flesh received heat too early | Begin with the skin facing the stronger heat | This is less useful for skinless or small cut pieces |
| Glaze timing | Sauce turns dark before eel is tender | Sweet sauce was exposed too early or too heavily | Apply a light finishing coat later | A thin coat cannot hide a damaged surface |
The diagnostic rule is direct: if the eel is dry before broiling, fix handling; if it dries only under heat, fix heat exposure. This distinction makes a broiled eel recipe easier to repeat across home ovens, restaurant salamanders, and different tray styles.
A useful kitchen fact about glossy eel
The shiny finish on kabayaki is not simply “more sauce.” Browning develops through the Maillard reaction and surface caramelization, but the fish needs enough retained moisture to stay tender below that browned layer. A dark glaze can look appealing while the eel underneath is already overexposed. Color alone is not a reliable sign of tenderness.
How tray position, skin orientation, and brief steaming prevent moisture loss during broiling
This is the main moisture-control method in a successful broiled eel recipe. Use the tray, skin, and steam as separate tools. Each one reduces a different kind of drying: direct radiation, exposed flesh, and a cold center that forces longer broiling.
| Control point | Best practical choice | Why it helps | When to use it | When not to rely on it alone |
|---|---|---|---|---|
| Tray position | Place the tray away from the strongest direct heat | Distance reduces harsh surface scorching before the center warms | Use for glazed fillets that darken quickly | Do not use distance alone if the eel starts cold |
| Skin orientation | Keep the skin toward stronger heat at the start | The skin shields the flesh and helps limit direct surface drying | Use for skin-on kabayaki fillets | Do not force this approach for skinless cuts or shredded eel |
| Brief steaming | Warm the eel under a covered, lightly steamy environment before final broiling | Gentle humidity warms the center without drying the glaze | Use for chilled, frozen, or vacuum-packed prepared eel | Do not steam so long that the surface becomes wet and cannot brown |
The order matters. First, warm the fillet with brief covered steam or another gentle moist-heat stage. Next, uncover it and place it with the skin receiving the stronger heat. Finally, finish the flesh side only long enough to set the glaze and create a light charred aroma. This broiled eel recipe avoids the classic mistake of placing a cold fillet flesh-side up directly under intense heat.
Tray position should be judged by what you see, not by copying a fixed rack setting from another kitchen. If the glaze bubbles aggressively before the fillet feels warmed through, increase the distance from the heat source. If the eel warms but stays pale after gentle heating, then bring it closer only for the final surface finish. The limit is clear: moving the tray cannot correct an eel that has been held uncovered or reheated repeatedly.

Use sauce as a finishing layer rather than a rescue tool
In a well-managed broiled eel recipe, sauce supports moisture perception and flavor, but it does not replace careful heat control. A thick layer of sweet sauce applied too soon can darken rapidly. The cook may then remove the eel early, leaving the center insufficiently warmed, or continue broiling and dry the flesh beneath it.
Use a light coating after the eel has warmed, then add another light coating only if the surface still needs shine. This approach fits kabayaki, where the sauce should cling rather than pool. It does not apply to a menu item intentionally served with a separate sauce cup or a broth-based presentation.
- Use a brush rather than pouring. Brushing creates a controlled layer and helps you see whether the surface is already wet. Pouring may leave uneven pools that burn first.
- Brush the thinner tail area lightly. Thin sections lose moisture sooner than thicker sections. This is useful for full fillets. It is less relevant when portions are cut to a similar size.
- Stop adding sauce when it no longer clings. A sliding glaze suggests the surface is too wet. Let the surface set before adding more.
- Serve extra sauce separately when the menu allows it. This gives diners more flavor control without forcing the fillet through extra broiler exposure.
Eelpro’s eel sauce can be considered for menu finishing where buyers want a matching unagi tare format. For sauce troubleshooting, see kabayaki sauce recipe: fix flavor mistakes. The useful limit is that sauce choice should follow the eel format and menu profile; it should not be used to cover a dry, overbroiled fillet.
Follow a moisture-first broiling workflow for prepared fillets
This broiled eel recipe works best as a staged procedure. The conclusion is simple: warm first, brown last. The reason is that prepared eel fillets need interior warmth before they can tolerate direct broiler energy. This fits frozen unagi kabayaki and vacuum-packed fillets. It does not replace the cooking process required for raw eel.
- Inspect the package and fillet. Confirm that the packaging is intact and that the flesh has not dried at exposed edges. If the surface already feels leathery, use a gentler menu application such as chopped eel over rice rather than presenting the fillet as a full centerpiece.
- Prepare a lined tray. Use a tray that supports the fillet without folding or crowding it. A folded eel section traps steam unevenly and can create soft patches beside dry edges.
- Warm under cover with brief steam. The goal is a warmed, supple fillet, not a wet one. Remove the cover when surface condensation is no longer desirable.
- Position skin toward the stronger heat. Keep the skin as the first barrier during the early broiling stage. Watch for tightening at the edges, which signals that the flesh side needs less direct exposure.
- Apply a light sauce coat. Brush only enough glaze to cover the surface. If it begins to run, do not add more.
- Finish under high heat with close observation. Stop when the glaze looks set and lightly browned, while the eel remains flexible. Do not wait for an extremely dark surface as proof of flavor.
- Rest briefly before cutting or plating. Handle the fillet gently so the softened flesh does not tear. Cut only after the surface has settled.
A broiled eel recipe should be adjusted when the product format changes. Sushi slices and strip-cut eel need less direct exposure because their cut faces are more vulnerable. Larger skin-on fillets benefit more from the skin-first method. Buyers can request cutting formats such as strips, chunks, sushi slices, and section cuts based on the intended menu use.
Avoid the mistakes that turn tender eel into dry eel
These are the avoidable errors seen most often when a broiled eel recipe is used for prepared eel products.
- Starting with the flesh side under harsh heat. This can shrink the most delicate surface before the center is warm. Use skin orientation first for skin-on fillets.
- Broiling a cold fillet until it looks done. The glaze may darken before the interior warms. Use a brief covered warming stage instead.
- Applying a heavy sauce layer too early. Sugar-rich glaze can darken faster than the fish heats. Use thin coats near the finishing stage.
- Using high heat as the only cooking tool. High heat is for finishing. Gentle warming protects texture before browning begins.
- Holding eel uncovered after opening. Surface dehydration begins before the broiler is involved. Keep product protected until preparation starts.
- Cutting immediately after broiling. Freshly heated flesh is fragile and can split. Let the surface settle before portioning.
For menu teams building dishes around eel and rice, eel rice bowl toppings: 7 better donburi ideas offers serving concepts that can make use of full fillets or smaller cuts without requiring excessive final broiling.
Use a buyer checklist when choosing eel for final broiling
For foodservice buyers, a consistent broiled eel recipe depends partly on sourcing. The right product should match the final heating method, portion style, and service speed. Eelpro operates two modern production lines with annual finished-product capacity of 4,000 tons, plus a 1,000-ton cold storage facility. Its production controls include ISO 22000:2018, HACCP, HALAL certification, export food producer registration, and an SC food production license.
| Buyer question | Why it affects final texture | What to request |
|---|---|---|
| Will the product be served as a full fillet or cut portion? | Thin cuts dry faster under direct heat | Ask for a cutting format suited to the menu |
| Will the kitchen use a broiler, salamander, or oven? | Different equipment changes direct heat exposure | Request product handling guidance for the intended equipment |
| Is the sauce applied before shipment or at service? | Glaze timing affects browning and surface moisture | Confirm whether additional eel sauce is needed |
| Is traceability required by the importing market? | Documentation supports purchasing and import control | Ask for relevant product and quality documents |
Eelpro maintains full-chain traceability through customs-registered eel farming bases, process verification, targeted sampling, laboratory testing, and metal detection at critical control points. The company supplies kabayaki eel to Japanese restaurant chains and exports unagi kabayaki and eel sauce to United States importers, while also supplying eel products to importers and foodservice channels in Germany, Poland, Australia, Indonesia, and Southeast Asia.
The best broiled eel recipe is therefore not a single fixed setting. It is a repeatable sequence: protect the fillet, warm it gently, use skin orientation wisely, keep the tray away from overly harsh heat, and glaze only when the surface is ready. Those small decisions keep the eel soft, glossy, and worthy of the plate.
For product specifications, cut-format advice, or a sample discussion for your menu, contact Eelpro for guidance on frozen unagi kabayaki and finishing sauce options.
===