




Grilled Unagi Recipe: How to Prepare Japanese Eel at Home
Making grilled unagi at home is simpler than most home cooks expect. Pre-grilled frozen kabayaki eel, widely available from Asian grocery stores and online seafood suppliers, is already seasoned and cooked. The task at home is reheating and caramelizing the glaze so the fillet tastes as good as what you would get at a Japanese restaurant. This recipe walks through the entire process, from thawing to plating, with tips on achieving that signature glossy finish.

What Is Unagi Kabayaki?
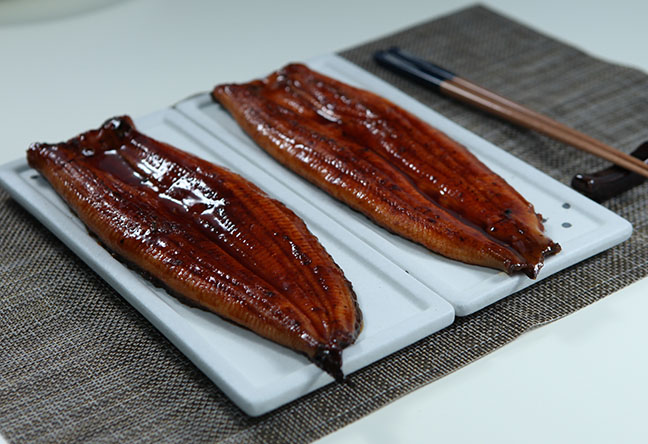
Unagi kabayaki refers to freshwater eel that has been butterflied, deboned, skewered, grilled, and basted with a sweet-savory tare sauce. This preparation method dates back to the Edo period in Japan. Today, most unagi kabayaki sold internationally is frozen after the initial grilling and sauce application. The final grill at home or in a restaurant kitchen reheats the fillet and caramelizes the sauce layer, creating a glossy, slightly charred exterior.
The quality of the frozen fillet matters. Look for eel labeled with its species — Japanese unagi (Anguilla japonica) is the gold standard, though European eel (Anguilla anguilla) and American eel (Anguilla rostrata) are also used. The fillet should be evenly coated in sauce, with no freezer burn or ice crystals inside the packaging.
Ingredients You Will Need
Most frozen unagi fillets come pre-sauced, so you need very few additional ingredients. Here is what to gather:
- 1 frozen unagi kabayaki fillet (about 200-250 g / 7-9 oz)
- 1 tablespoon mirin (optional, for extra glaze)
- 1 teaspoon soy sauce (optional)
- Steamed Japanese short-grain rice, for serving
- Toasted white sesame seeds, for garnish
- Sansho pepper (Japanese mountain pepper), for garnish
- Pickled ginger (gari), for serving
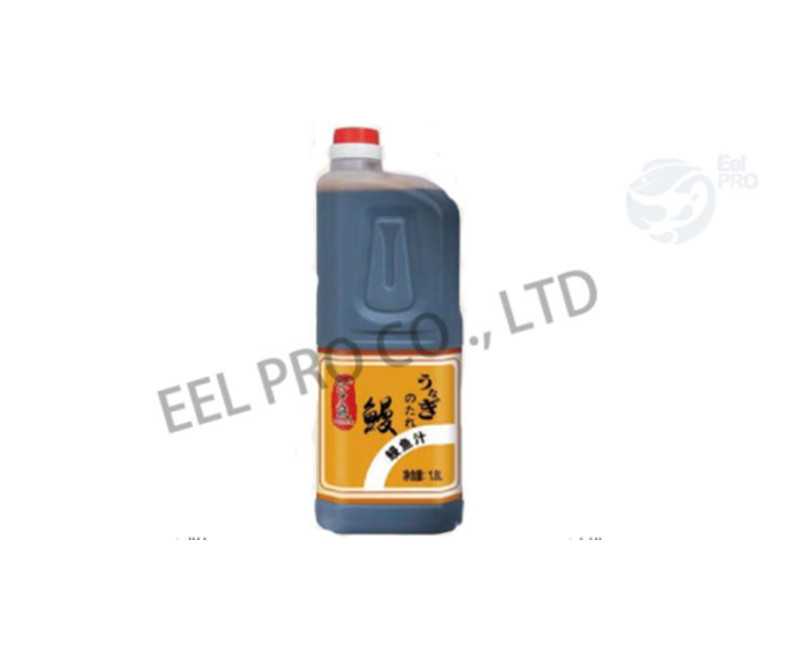
If your fillet seems light on sauce, you can make a quick supplemental glaze by simmering equal parts soy sauce, mirin, and sugar until slightly thickened. Or simply brush on a high-quality eel sauce before the final grill.
Step-by-Step Grilled Unagi Preparation
Step 1: Thaw the Eel
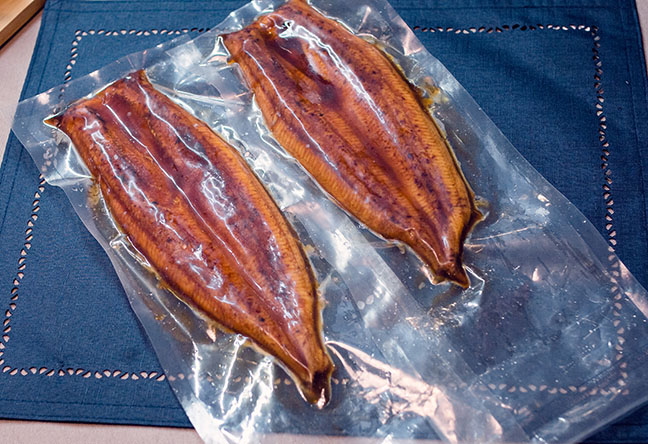
Transfer the frozen unagi fillet from the freezer to the refrigerator and let it thaw overnight. For faster thawing, keep the fillet in its sealed vacuum pack and submerge it in cold water for 30 to 45 minutes. Do not use warm water or a microwave — rapid thawing can damage the texture of the eel flesh and cause the sauce to separate.
Step 2: Cut the Fillet
Once thawed, remove the fillet from its packaging and pat it dry gently with a paper towel. Using a sharp knife, cut the fillet in half crosswise. This makes it easier to handle on the grill or in the pan. Some cooks also cut the fillet lengthwise along the natural seam where the spine was removed.
Step 3: Choose Your Cooking Method
There are three reliable ways to finish the grilled unagi:
Oven broiler: Preheat the broiler to high. Place the fillet skin-side down on a foil-lined baking sheet. Broil 4-5 inches from the heat source for 3-4 minutes. Brush with the optional mirin-soy mixture, then broil for another 1-2 minutes until the surface bubbles and darkens slightly at the edges.
Stovetop pan: Heat a nonstick skillet over medium heat. Place the fillet skin-side down and cook for 2-3 minutes. Flip and cook the flesh side for another 1-2 minutes. Brush with extra glaze if desired.
Kitchen torch: For the most control, use a culinary torch. Warm the fillet in a 350°F (175°C) oven for 5 minutes first, then torch the sauce side until it bubbles and caramelizes. This method produces the most restaurant-like finish.
Step 4: Plate and Serve
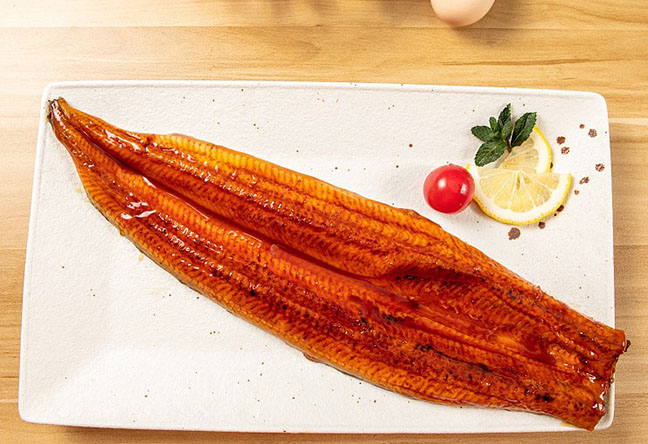
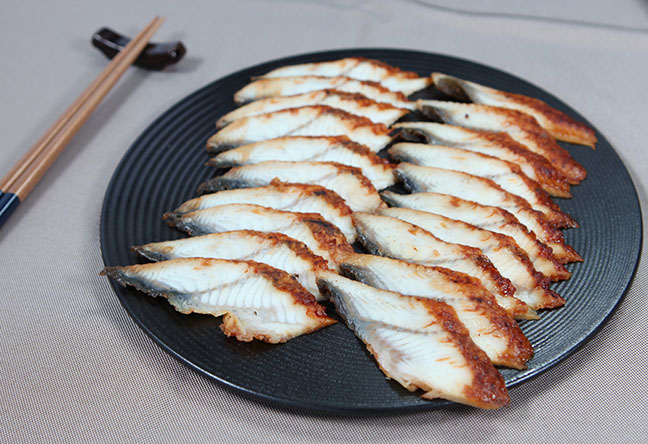
Slice the grilled eel into bite-sized strips about 2 cm wide. Arrange over a bowl of steamed rice. Sprinkle with toasted sesame seeds and a light dusting of sansho pepper. Add a small mound of pickled ginger on the side. For a complete Japanese meal, serve with miso soup and a simple cucumber sunomono salad.
Tips for the Best Grilled Unagi at Home
Getting a good result from this grilled unagi recipe depends on a few small details. First, always thaw the fillet completely — a partially frozen center will not heat evenly and may release water that thins the sauce. Second, do not overcook. The eel is already fully cooked from the factory grill; your job is just to warm it through and set the glaze. Overcooking makes the flesh dry and tough.
Third, consider the sauce. The factory-applied tare is designed to caramelize under high heat, creating a slightly crisp, candied surface. If you want more sauce, brush a thin layer on before the final minute of cooking rather than drenching the fillet. Too much added sauce can burn and turn bitter under the broiler.
Common Questions About Grilled Unagi
Can I grill unagi on an outdoor barbecue? Yes. Use a grill basket or a piece of heavy-duty foil to prevent the fillet from sticking to the grates. Grill over medium heat for 2-3 minutes per side, brushing with extra sauce in the last minute.
How long does frozen unagi last? Commercially frozen unagi kabayaki typically has a shelf life of 12 to 18 months when stored at -18°C (0°F) or below. Once thawed, use within 24 hours and do not refreeze.
What is the difference between unagi and anago? Unagi is freshwater eel with a rich, fatty texture that takes well to grilling and sweet tare sauce. Anago is saltwater conger eel with a lighter, more delicate flavor, usually simmered or served as tempura rather than grilled with sweet sauce.
For more ways to cook with eel, check our collection of eel recipes. The kabayaki sauce used on grilled unagi is also worth understanding in depth — it is what gives the dish its signature sweet-savory character.
Grilled unagi represents one of the most accessible entry points into Japanese eel cuisine for home cooks. Unlike dishes that require hours of simmering or specialized knife work, kabayaki preparation at home is essentially a reheating-and-glazing task. With a frozen kabayaki fillet in the freezer, a satisfying Japanese-style meal is always within reach. The entire process from thawing to serving takes about 15 minutes of active work, making this grilled unagi recipe a practical option for weeknight dinners as well as weekend cooking projects.


 WhatsApp
 sales@chinaeels.com
 +8619937922411