

Homemade Eel Sauce Recipe That Coats Without Candying
You simmer soy sauce, mirin, and sugar exactly like the video showed. It smells right. It looks right. Then it cools and turns into a stiff, taffy-like mass that won't budge off the spoon. If that's happened to you, you're not alone — it's the single most common failure point in any homemade eel sauce recipe, and it comes down to two variables most recipes never explain: simmer temperature and cooling-stage viscosity.
This isn't a mystery ingredient problem. It's physics. Sugar syrup behaves differently depending on how hot it gets and how fast it cools, and eel sauce is essentially a thin sugar syrup flavored with soy and fish stock. Get the heat stage wrong, and you've made candy, not sauce.
Why Eel Sauce Turns Into Candy Instead of Glaze
Traditional unagi tare (eel sauce) is a reduction of soy sauce, mirin, sake, and sugar, sometimes with eel bones or trimmings simmered in for body. The sugar content is what gives it that glassy, coats-the-back-of-a-spoon shine. But sugar syrup has a well-documented behavior: as it heats past certain points, water evaporates and sugar concentration climbs, moving it through stages candy makers call thread, soft-ball, hard-ball, and eventually hard-crack. Most home eel sauce disasters happen because the mixture is pushed past the soft-ball range without anyone realizing it, because there's no thermometer involved and no visual cue explained.
Once you understand this is the same chemistry behind sugar candy stages, the fix stops feeling like guesswork.
How Simmer Temperature and Cooling-Stage Viscosity Prevent a Sticky, Candy-Like Glaze
This is the part most recipes skip. Two separate stages need separate control — the active simmer and the cooling window after you take the pan off heat. Getting either one wrong is what produces a hard, sticky glaze instead of a pourable one.
Stage 1 — Active Simmer Control
- Target range: 185°F–200°F (85°C–93°C), a gentle simmer, never a rolling boil.
- Boiling hard pushes water off too fast, concentrating sugar before the flavors have melded — this is the direct path to a candy-stage sauce.
- Use a wide, shallow pan. It reduces faster at lower heat, so you spend less time near the danger zone.
- Stir occasionally, not constantly — over-stirring at high sugar concentration can encourage crystallization.
Stage 2 — Cooling-Stage Viscosity Check
- Sauce always looks thinner hot than it will be cold. This is the #1 reason people over-reduce.
- Pull the pan when the sauce coats a spoon in a thin, still-flowing sheet — not when it clings in a thick blob.
- Drop a small spoonful onto a cold plate and wait 60 seconds. If it sets like syrup, you're done. If it hardens like caramel, you've gone too far.
- Sauce continues thickening for several minutes after heat is off, due to residual heat and evaporation — factor this in before you decide to keep cooking.
| Symptom | Likely Cause | Fix |
|---|---|---|
| Hard, chewy, taffy-like texture once cooled | Simmered past soft-ball stage (over 235°F/113°C) | Restart batch; whisk in small amounts of warm water off-heat to loosen, though texture won't fully recover |
| Sauce grainy or crystallized | Sugar crystals formed on pan sides and dropped back in during stirring | Brush pan sides with a wet pastry brush during simmering |
| Too thin even after cooling | Pulled off heat too early | Return to low simmer for 2–3 minutes, retest cold-plate drop |
| Sauce thickens unevenly after storage | Uncontrolled cooling, sat at room temp too long before refrigeration | Cool to room temp within 30–40 minutes, then refrigerate in a sealed jar |
Step-by-Step: A Reliable Homemade Eel Sauce Recipe
This method assumes standard pantry ratios found in most unagi tare
- Combine equal parts soy sauce and mirin (roughly 1 cup each) with 1/2 cup sugar in a wide saucepan.
- Bring to a gentle simmer over medium-low heat — watch for small bubbles, not a boil.
- Hold at 185–200°F for 10–15 minutes, stirring occasionally and brushing down crystallized sugar from the pan sides.
- Test with the cold-plate method every few minutes once the sauce starts visibly thickening.
- Remove from heat the moment it coats a spoon in a thin sheet — it will thicken further as it cools.
- Cool at room temperature for 30–40 minutes before transferring to a sealed jar or bottle.
- Refrigerate up to 2–3 weeks; sauce should stay pourable when warmed slightly.
Common Mistakes That Ruin the Texture
- No thermometer, no cold-plate test — relying only on color or smell misses the exact moment sugar concentration tips into candy range.
- Reducing over high heat to save time — faster reduction means less control, and this is where most home batches overshoot.
- Judging thickness while the sauce is still hot — it will look thinner than its final cooled state, tricking cooks into over-cooking.
- Skipping the pan-side crystal brush-down — stray sugar crystals seed graininess throughout the batch.
- Storing while still warm — trapped steam changes texture and can encourage mold growth over time.
Scenario: Fixing a Batch That's Already Too Thick
Say you've pulled the pan late and the sauce is setting up like soft caramel on the plate test. Don't throw it out. Off heat, whisk in warm water one tablespoon at a time until it loosens back to a pourable consistency. It won't have quite the same silkiness as a batch cooked correctly the first time, but it's fully usable for glazing grilled eel or drizzling over rice bowls. For future batches, note the total simmer time this attempt took and cut it by 20–25% as your new starting point.
Buyer's Decision Checklist — Homemade vs. Ready-Made Sauce
- Do you have 20–30 minutes of stovetop attention available? If not, a ready-made eel sauce saves the guesswork.
- Are you cooking for a one-off meal or building a repeatable house recipe? Repeat cooks benefit more from mastering the simmer-and-cool method.
- Do you need consistent viscosity for foodservice plating? Commercial kitchens often standardize with a pre-made sauce to avoid batch-to-batch variation.
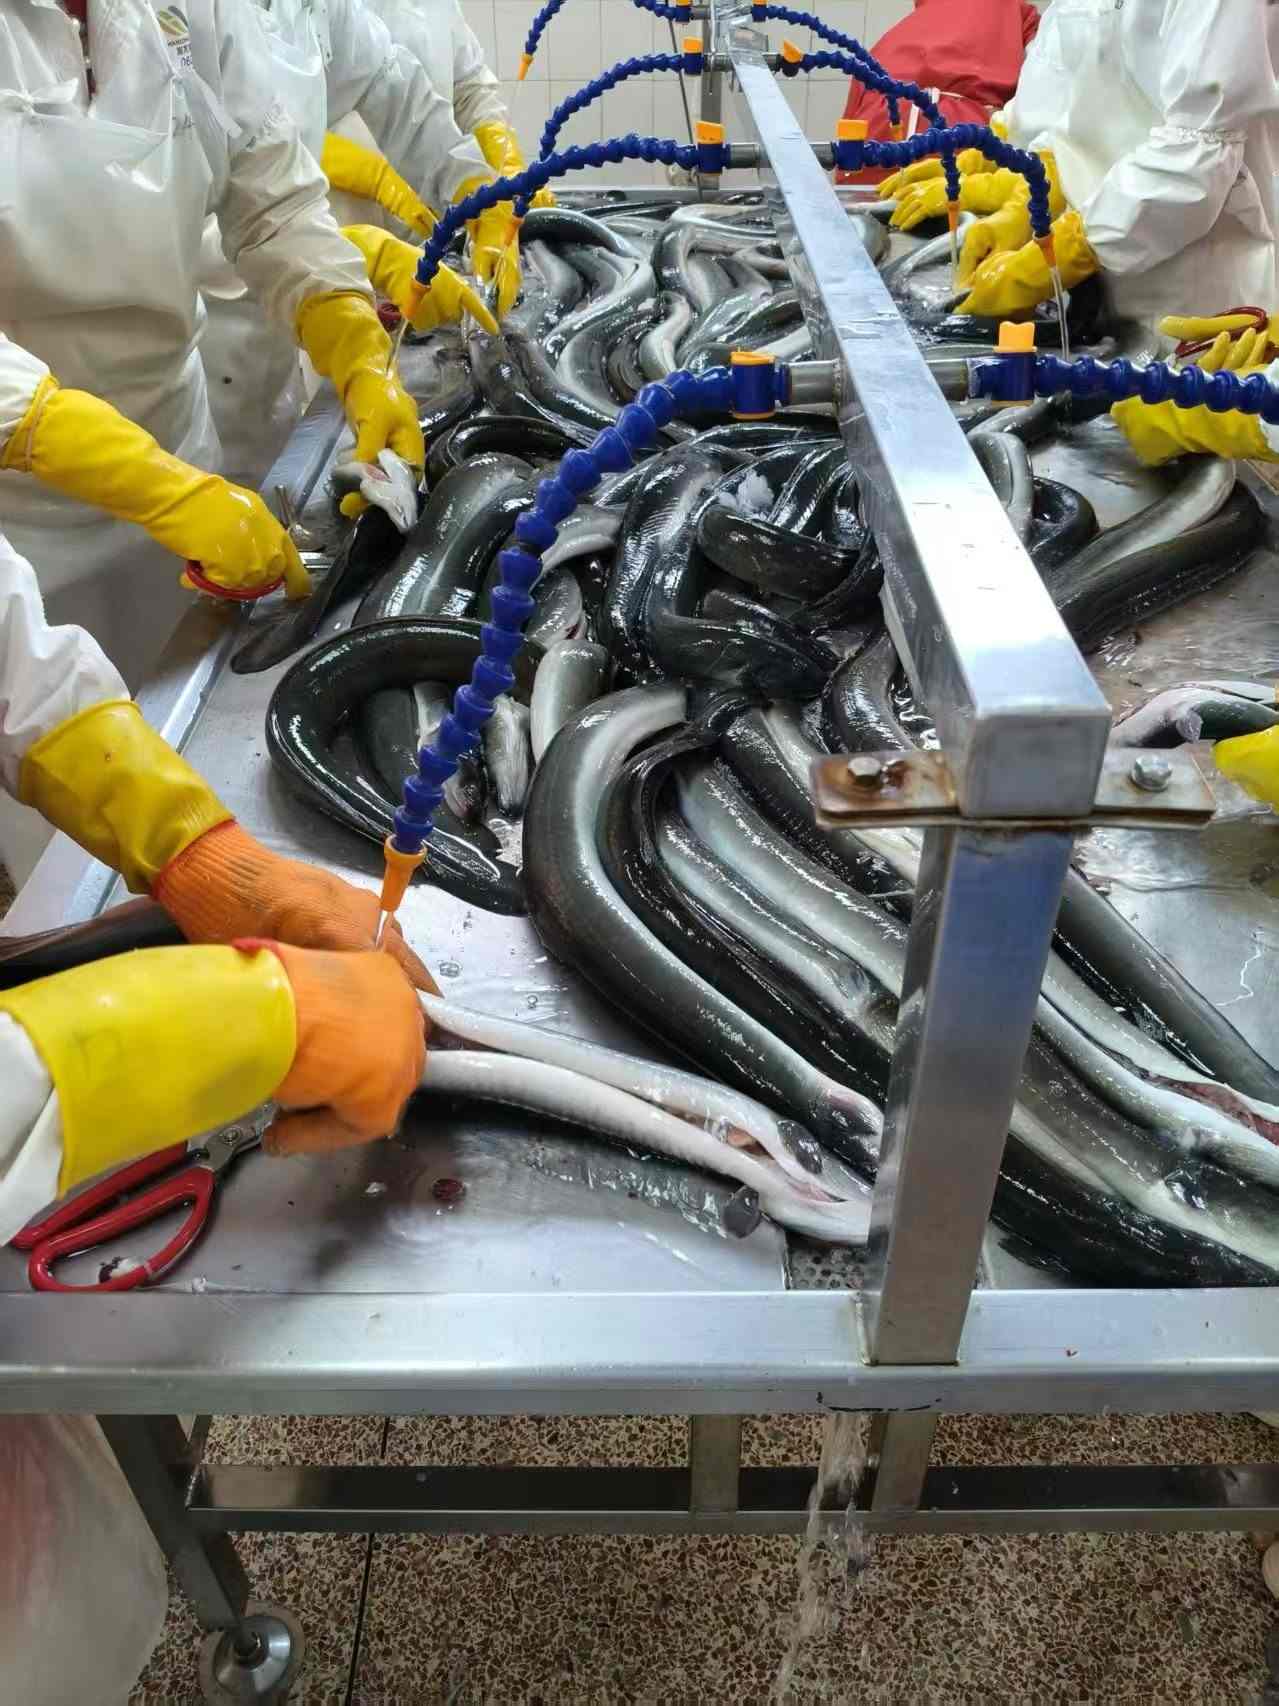
- Is your eel already cooked or raw? Pairing sauce technique with proper prep matters — see this cleaning, skinning & deboning guide if you're starting from whole eel.
Pairing the Sauce With the Right Eel
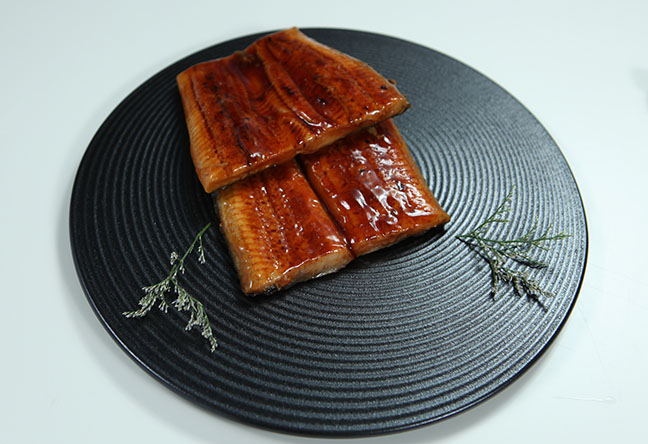
Sauce texture only matters if the eel underneath is right. Frozen unagi kabayaki that's already roasted and glazed gives you a stable base to reheat and finish with your own tare, which is a practical shortcut if your homemade batch needs a second attempt. If you're building flavor pairings beyond the classic glaze, this piece on flavor pairings for menus is worth a look, and if you're troubleshooting flavor balance rather than texture, the dedicated guide on fixing kabayaki sauce flavor mistakes covers that side of it.
Cold-Knowledge Note: Why Commercial Sauce Rarely Has This Problem
Large-scale eel sauce production controls simmer temperature and cooling rate with equipment precision that's hard to replicate at home — consistent kettle temperatures, controlled cooling tunnels, and lab-tested viscosity checks at each batch. That's part of why a facility running under in-house lab testing and ISO-based quality control can produce the same texture, batch after batch, while home cooks are stuck eyeballing a spoon. It's not a knock on the homemade version — just a reason to keep a backup jar on hand for the nights your batch doesn't cooperate.
If you want to compare notes on your simmer times or share what ratio worked for your kitchen, drop it in the comments — texture problems are almost always fixable once you know which stage went wrong. And if you're sourcing eel for a restaurant menu or wholesale order rather than a single home batch, request a spec sheet or sample from our team to see how the sauce holds up at scale.