





You pull the glistening eel fillet from the broiler. The glaze is caramelized, the aroma is incredible. You take a bite—and it’s rubbery. Chewy. Nothing like the buttery unagi you remember. Frustration hits hard. A recipe eel failure feels personal because good eel isn't cheap.
The problem usually isn't the fish. It’s the process. Whether you're working with a raw freshwater eel or a premium frozen unagi kabayaki fillet, small errors compound fast. Heat is too aggressive. Moisture isn't managed. The sauce burns before the flesh relaxes. We’ve seen chefs and home cooks make the same seven mistakes for decades. Our team at Eelpro processes tons of eel annually, and we know exactly where these eel cooking mistakes happen—and how to reverse them.
why does eel become tough when cooked? The culprit is almost always heat shock. Eel flesh contains a web of delicate proteins and a significant amount of fat just under the skin. If you blast frozen eel with high heat immediately, two things happen. The moisture explodes out of the cells with a sizzle, steaming the outside but leaving a dry, contracted core. The outer proteins seize and squeeze tight before the inner collagen has time to melt into gelatin.
Think of it like a clenched fist. You need to coax it open.
If your eel is already on the plate and tough, you have a rescue path. Place the overcooked fillet back on a sheet of parchment paper. Sprinkle it with a teaspoon of water (or sake) and wrap the paper into a tight envelope. Steam it at 85–90°C (185–195°F) for 8–10 minutes. This gently rehydrates the flesh and relaxes the seized amino acid chains. Pat it dry and hit it with a torch or a 250°C (480°F) broiler for exactly 45 seconds to reset the crust.
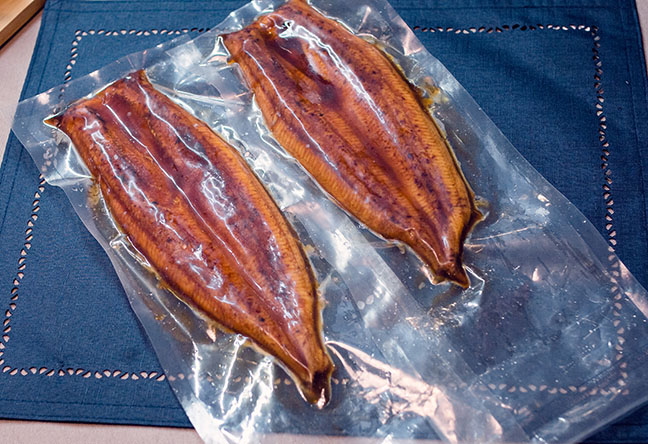
For tender eel preparation from the start, always thaw frozen fillets in the refrigerator overnight. Never microwave them. A slow thaw keeps the cell walls intact. If you must speed it up, submerge the sealed vacuum pack in ice water—never warm water. When you're ready, start in a medium-low oven (160°C / 320°F) covered, then finish uncovered at high heat. That’s the secret to an easy eel recipe that doesn’t fight back.
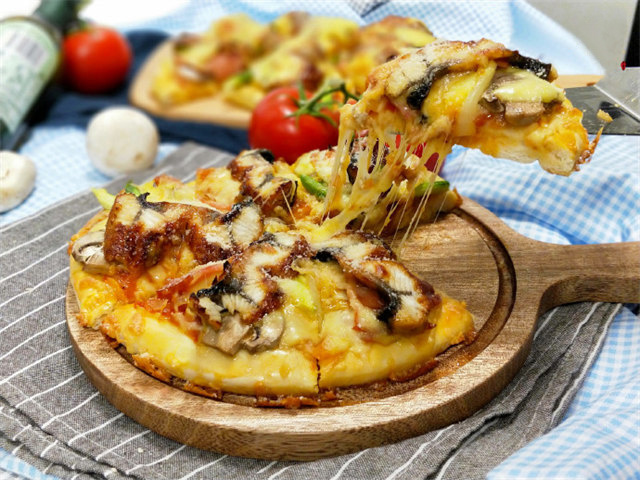
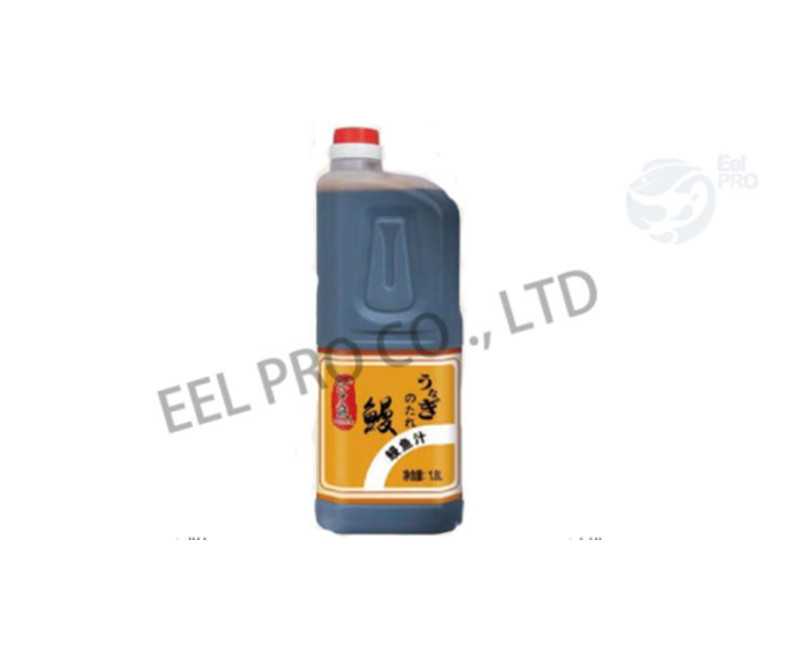
We see this daily. A cook brushes on a thick layer of sweet soy glaze before the eel hits the heat. The result? Blackened, acrid skin and a raw-tasting interior. Store-bought eel sauce (unagi tare) is sticky for a reason—it caramelizes fast. Our kabayaki sauce hits its perfect sheen at around 190°C (375°F). Exceed that even slightly, and the sugars carbonize into bitterness, ruining your eel recipe tips instantly.
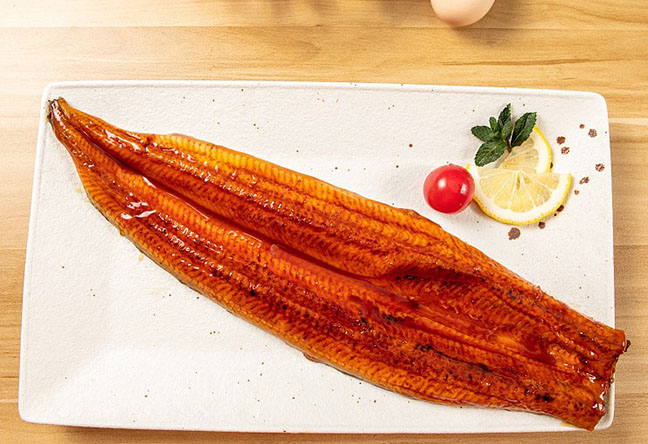
The fix is a layering technique borrowed straight from Japanese unagi masters. Heat the fillet naked, skin-side down, until the skin fat starts to render and crisp. Flip it, warm the flesh side, then brush the thinnest possible layer of sauce onto the hot surface. Let it bubble for 30 seconds. Remove from heat. Dip again, reheat for another 20 seconds. This "dip-and-flash" method builds a lacquered shell without burning. For a deeper dive on balancing sweet and savory notes, the guide on kabayaki sauce recipe: fix flavor mistakes walks you through adjusting viscosity.
Eel is an oily fish. That’s its gift and its curse. Wild freshwater eel can push 20% fat content, and even our farmed unagi from our Chinese farms delivers a rich, melt-in-your-mouth texture. But if you don't drain the fat during cooking, the fillet poaches in its own grease. You get a slimy mouthfeel, not a silky one.
The error lies in treating eel like a lean white fish. You wouldn’t pan-sear a ribeye without pouring off the excess fat, right? Same principle here. For an easy eel recipe, line your baking sheet with a wire rack. The raised grid keeps the fillet out of the pooling oil. Halfway through cooking, take a quick look. If the fillet is sitting in a shallow pool of liquid gold, carefully tilt the tray and drain it off, or blot the bottom ridge of the fillet gently with a paper towel. You'll be shocked how much fat renders out—and how much cleaner the final flavor becomes.
Ever watch an eel fillet curl into a tight tube in the pan? That’s the skin contracting violently. Eel skin has a dense, leathery texture that shrinks faster than the flesh as it heats. The solution is scoring. But how should eel be prepared before cooking to prevent this? Most people score too deeply. They slice right through the flesh to the cutting board, creating weak points where the fillet tears apart.
Hold a sharp, thin-bladed knife at a 30-degree angle. Draw it across the skin side just deep enough to part the skin and the first millimeter of subcutaneous fat. You should see the white fat, but not the pink muscle beneath. Make parallel lines about 1.5 cm apart. For a diamond pattern, rotate and cross-hatch. This releases the skin's tension while keeping the fillet structurally whole. It also creates little canals for the fat to render out and the glaze to seep in. Double win.
Many recipe eel instructions skip a critical step: a gentle brine or pre-season. Fresh eel has a slight "muddy" aroma that some palates detect. A quick 5-minute dip in a light salt-and-sake solution (5% salinity) draws out that albumin and firms the flesh without making it salty. Frozen kabayaki eel is already pre-seasoned, so this doesn’t apply there. But if you get your hands on a raw whole eel from a trusted eel farm, a brief brine changes the game for tender eel preparation.
The secret is the rinse. After brining, you must rinse the fillet under cold running water and pat it bone-dry. Wet flesh steams. Dry flesh sears. It's that simple.
Bottled eel tare can drift too sweet if you’re not careful, especially if you're reducing it down in a pan. If your glaze tastes like candy canes, balance it with 1 part rice vinegar to 3 parts glaze and a dash of umami powder (or a trickle of fish sauce). Simmer for 60 seconds. The acidity cuts through the sugar and lifts the eel's richness. You can explore the original flavor profile of our kabayaki sauce and why it works to understand the foundation.
This is the silent killer. You finish glazing, plate it beautifully, slice open—and the juices gush out, leaving dry meat behind. how do you keep eel tender in a recipe after the heat is off? You rest it. Not like a steak. Eel is thinner, but structured resting is non-negotiable.
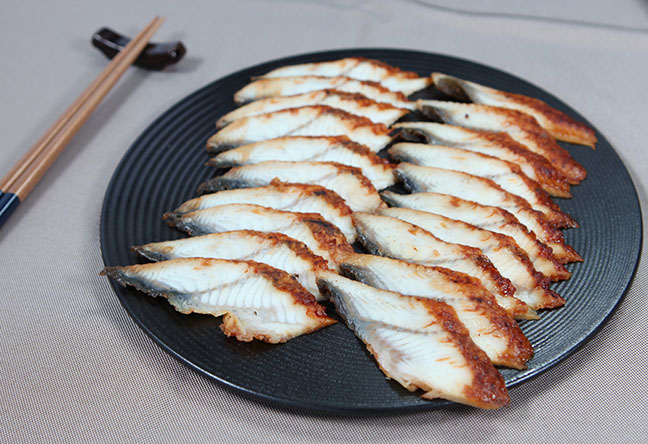
Pull the eel off the heat when it's just under your ideal doneness. Residual heat will carry it over. Let it rest on a cutting board, skin-side up, under a loose tent of foil for 3–4 minutes. This pause lets the fat and gelatin re-absorb into the muscle fibers rather than spilling onto the plate. Slice with the scoring lines, not against them. A clean cut equals a tender bite.
The easiest eel cooking mistakes to fix is temperature mismatch. Cold fillet + screaming hot pan = disaster. If you're using our unagi kabayaki eel from frozen storage, let it sit at room temp for 10 minutes after the ice water thaw. A core temperature around 4–8°C (40–45°F) hits the sweet spot where the center warms up before the outside overcooks.
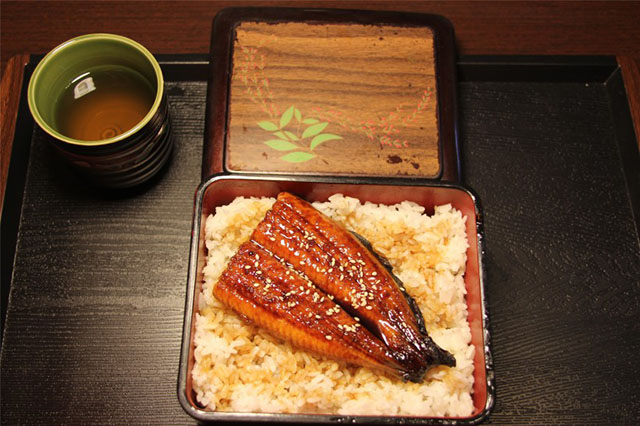
Quick fixes you can print out and stick on the fridge:
For those who want to re-train their intuition, a walk through cleaning, skinning and deboning fresh eel teaches you exactly how the muscle layers behave before a flame touches them. Once you understand the anatomy, you stop fighting the ingredient.
Cooking a recipe eel dish shouldn’t feel like a gamble. It’s a conversation between fat, sugar, and heat. Listen to the sizzle. Watch the glaze bubble. Touch the fillet. When it resists your finger lightly but yields with a gentle push, you’re done. The best eel recipe tips come from watching the fish, not the clock.
Want to go deeper? We’ve mapped out 10 flavor pairings that elevate eel on any menu. Whether you’re building a donburi or a Western-style grill plate, understanding what surrounds the eel is just as critical as cooking the fillet itself.
 WhatsApp
 sales@chinaeels.com
 +8619937922411